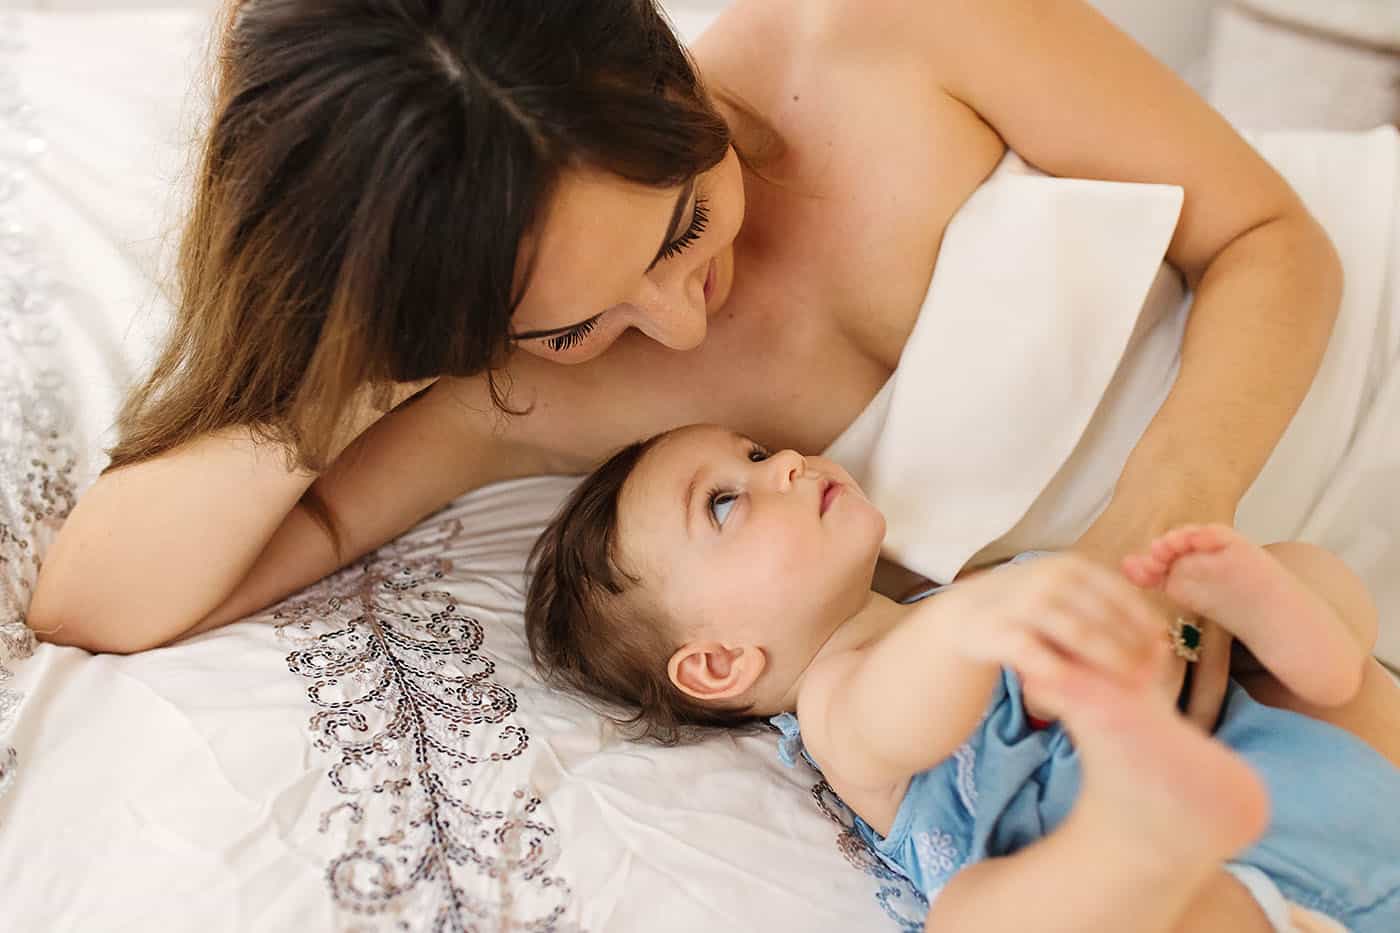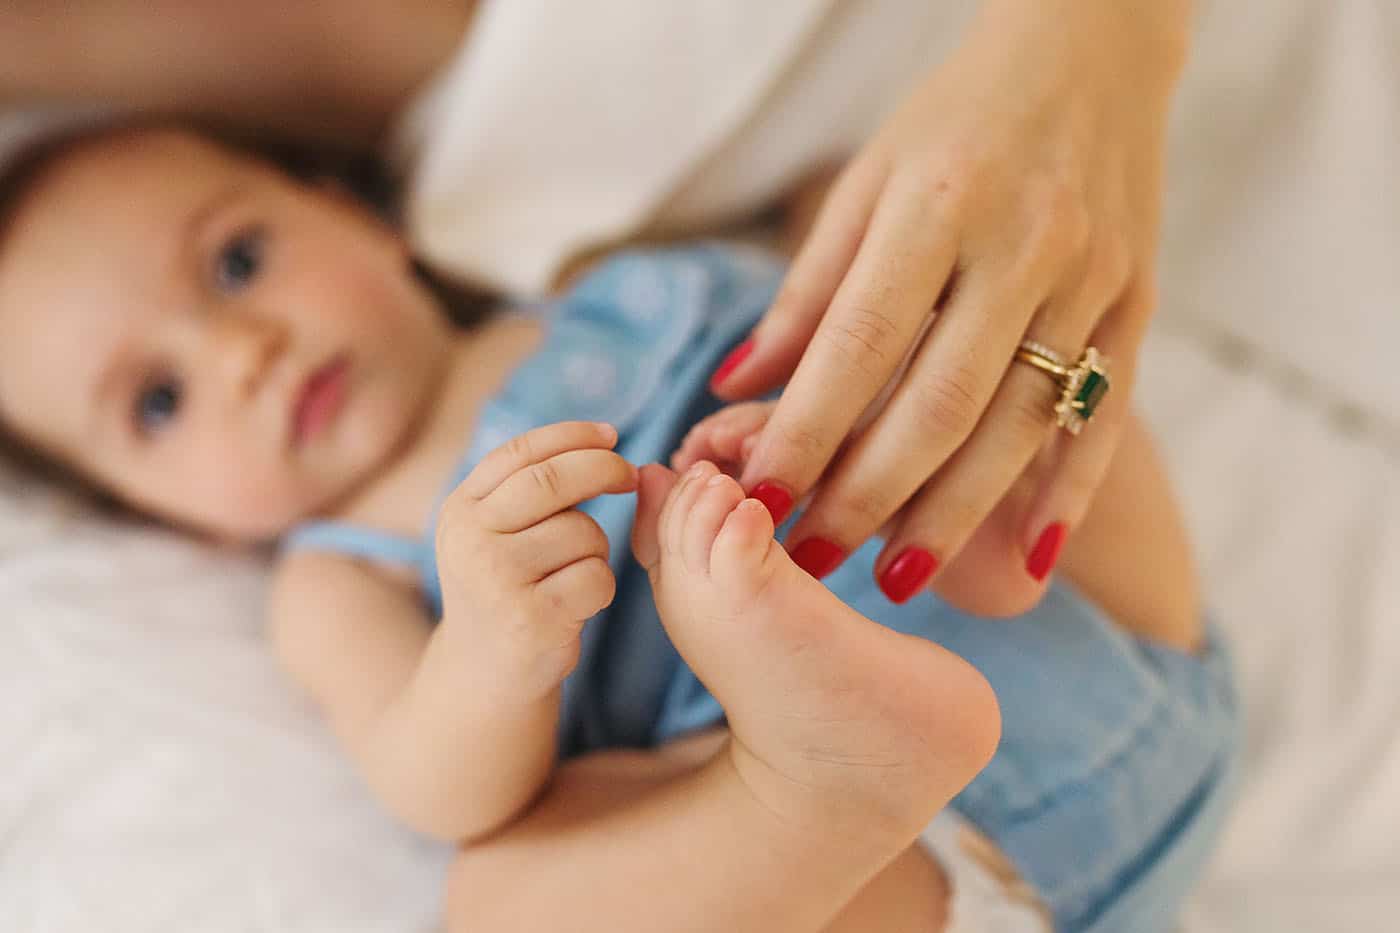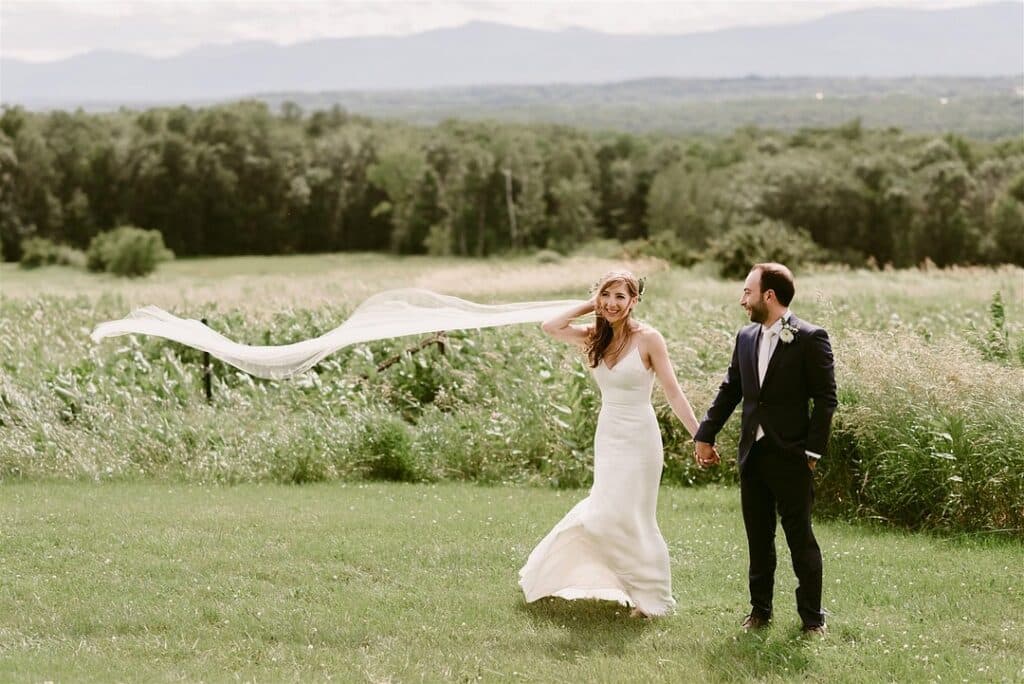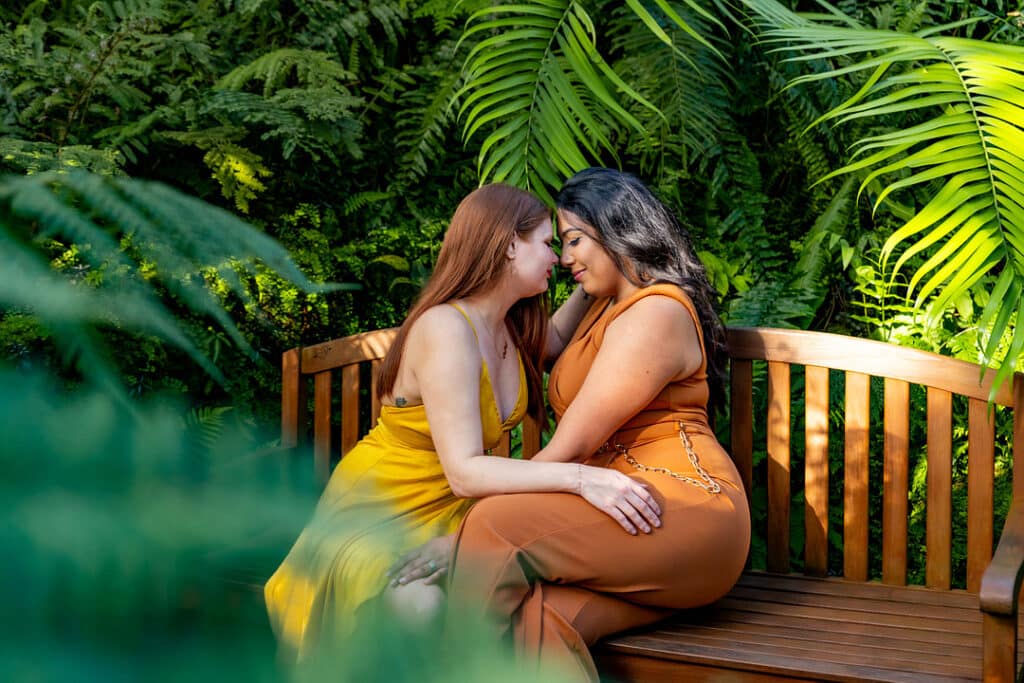
Great communication and clear expectations will help you plan and deliver a gorgeous indoor photography session, no studio needed!
You book the clients. (They sound so lovely on the phone!). They sign the contract and pay the retainer. (Hooray, bookings!). You help them plan their wardrobe, and agree to photograph the family in their home. (Who doesn’t love gorgeous lifestyle photos?)
Then you show up on the shoot day, and – gasp!
The house is dark.
There is clutter everywhere.
And – do they even own a vacuum cleaner?!?
In-home photo sessions can be glorious exercises in natural light and gentle posing, or they can be nightmarish encounters with windowless rooms and messy spaces.
Here’s how to plan, prepare, and handle whatever chaos your clients throw your way!
Be Specific. VERY Specific.
We photographers know what we’re looking for when we show up for a shoot, so it’s easy to assume our clients innately understand those needs, too. But the average Joe doesn’t have a clue about the makings of a great portrait, and a little hand-holding will go a long way.
Dig into the nitty-gritty of what you expect to find when you arrive – and don’t hesitate to be blunt!
Provide your clients with the following guidelines:
Indoor Photo Checklist
- Clear floors and surfaces of clutter, and remove any items you don’t want appearing in photographs.
- Vacuum, dust, make beds, and generally clean your home. This will ensure that all surfaces gleam and sparkle in the photographs!
- I will select rooms with plenty of natural light for our session. Even if a space looks uninteresting to you, if it’s full of beautiful light, include it in your cleaning!
- If you choose not to clean and prefer to receive professional retouching services on your photographs later, my retouching fee begins at $____ per _____.
Pro Tip: Get Some Retouching Help
Not a master retoucher, but need some pro retouching fast? Consider one of these professional retouching services so you can get back to shooting as soon as possible.
Chromanauts (An Atlanta local, y’all!)
ShootDotEdit
Foto Fafa
Rebooku
FixthePhoto.com
Photographer’s Edit
The Image Salon
Freedom Edits
My Lavalu
RDF Lab
“Don’t be afraid to raise your ISO! We get so afraid of using high ISO; yet if a photo is exposed properly, high ISO delivers less grain than recovering an underexposed image in post-production.”
– Mandii Jones, Xanthe Photography
Know Your Lighting Preferences
Most lifestyle photographers prefer natural light for their photographs. Even if you’re comfortable using flashes and strobes, you may find that your families are more relaxed without light stands and umbrellas hovering over them.
If you fall into the natural light photographer category, educate your clients about your lighting preferences. They may not realize that their windowless den with the cool leather chairs and fluorescent bulbs is less-than-ideal for indoor photo sessions.
Timing is Everything
Knowing how to get quality lighting from your light source is key. If you’re planning to use natural light, evaluate the interior space and consider shooting at ideal times:
- Midday: While you’ll avoid intense midday light when shooting outdoors, midday lighting actually offers flattering natural light photos when streaming through a window or doorway. If the lighting looks a little harsh, consider using curtained windows to diffuse the light.
- Golden Hour: If you’re shooting in a room that has lots of windows, golden hour can create gorgeous light! With warm light streaming through windows, you can capture stunning warm-toned images.
Proactively ask your clients about the rooms you’ll be shooting in–how many windows are in the space? If you know there are east-facing windows, you may opt for a morning session, based on how the natural light shines into the house.
Learn How to Use a Flash
Even if you consider yourself a natural light shooter, knowing how to use a flash as a supplemental light source is extremely helpful for indoor shoots. Learn to modify the flash in a way that can prevent washed-out faces from harsh light.
When you’re shooting indoors, point the flash towards the wall or ceiling and bounce light onto the subject. You can use a flash both on and off-camera, depending on what you want the overall image to look like. If you’re aiming for a more natural look, take time to learn how to use an off-camera flash to create gorgeous light!
Bounce the Light with a Reflector
One of the easiest indoor photography tricks for flattering lighting is to use a reflector. If you need to fill in the shadows, using a reflector is a simple way to bounce natural light back on the subject.
If you don’t have a reflector, you can use any material that is opaque and white. For instance, white poster boards, car windshield reflectors, and bedsheets can also bounce light.
Let the Light Guide You
Maybe the only beautiful light in your client’s home is in the foyer in front of the open door. Great! Move their prettiest armchair into the entryway, and create a series of photographs in that space!
Don’t hesitate to micromanage in-home shoots. Unless you’re a family photojournalist, documenting real life as it happens, you’ll want to take control of this session the same way you would any other portrait shoot.
With on-location, indoor photography, your client’s home has become your studio, and it’s your job to make sure every image is beautiful.
If your clients suggest photographs in a space that won’t work well, communicate your concerns and offer alternatives. Maybe you’ll still make a few photographs in that space, but you’ll have properly set their expectations.
Pro Tip: Talk About LIGHT
Pre-shoot walkthroughs are helpful, but they aren’t always practical. An excellent alternative (along with detailed conversation), is to ask your client to send over a few photos of their home. This will help you visualize the space and prepare effectively!
“Even in a room with only the tiniest window, I can angle my clients toward the light and make photographs that work.”
– Mandii Jones, Xanthe Photography
Check Your Camera Settings
In addition to being aware of lighting for photos, knowing how to change camera settings is critical. When you master your camera, you can make indoor shoots smoother because you have creative control. Practice settings for shutter speed, aperture, ISO, and white balance–learn what combinations work together to create evenly exposed indoor photos.
Boost ISO in Low Light
Indoor lighting can be challenging. Aside from using a flash, you can play with ISO settings–try a higher ISO and test exposures. Just be aware that boosting the ISO can create grain or digital noise in your images. If photos look grainy or noisy, try converting them to black and white and experiment with contrast.
Use a Slower Shutter Speed
To quickly improve the overall exposure of your photos, try slowing down the shutter speed to 1/60 or 1/125. Don’t go much lower than that, unless you’re really steady…or have a tripod!
Open Up the Aperture
Use a larger aperture if you’re struggling to increase exposure without adding noise in your indoor photos. This way, you can let more light reach the camera’s sensor through the lens. Consider shooting on a prime lens that has an aperture of 1.2 or 1.4–you’ll be able to maximize the light. Keep in mind, a large aperture narrows the depth of field, which could make it harder to nail the focus.
Don’t Forget the Wardrobe!
What your clients wear can make or break a session. Written guidance is helpful, but most people respond better to visual cues. Pinterest is a great solution for making What To Wear idea boards – collections of photographs exemplifying excellent wardrobe choices! The photographs on your What To Wear board can be yours, or images you’ve pinned within the app. All that matters is that you’re showing your clients what looks good on camera.
Pro Tip: Use Pinterest Descriptions To Educate Your Client
Don’t leave the pins’ default description in place. Edit each pin’s description with your own advice, so your clients know exactly why you pinned a particular outfit, and why you’re suggesting it for their specific indoor photo session.
How To Block Clutter & Miss the Messes
Some clients will swear they’ve cleaned their home, yet it will still be a minefield of toys, dishes, and laundry. Only the purest of family photojournalists (and the rarest of clients) will find this appealing in the final photographs, so find creative ways to eliminate any remaining chaos from your photographs.
“Make the most of what’s available! Use it to create mood – or, if something isn’t working, simply make the decision to move on quickly and change rooms.”
– Mandii Jones, Xanthe Photography
 Photo by Xanthe Photography
Mask with Layers – Not the Photoshop Kind!
Houseplants, home decorations, and even pieces of furniture can be included in the foreground of your photograph to hide clutter. Simply mask the mess with a layer of out-of-focus foreground, and a cluttered room becomes a work of art!
Shift Perspectives
That pile of laundry behind the sofa? You can’t see it if you kneel down to make the photograph! Consider your own angle when taking pictures. You may find that something as simple as a shift up, down, or to the side will eliminate an unwanted item from your image.
Crop Close
Wide, environmental images are fabulous in beautiful spaces! But some homes aren’t conducive to broader angles. If the room you’re in is less-than-glamourous, consider cropping close to your subjects and highlighting only the best parts of the image – your clients themselves.
Pay Attention to the Background and Foreground
One of the best indoor photography tips is to get to know the clients’ space. By scouting the space in advance–even if it means Facetiming your clients–you can include meaningful items in the background or foreground.
Depending on the photograph you hope to capture, backgrounds can either fade away or add eye-catching details. Backgrounds can reflect your subjects’ personalities, especially if there are items that play a significant role in their lives.
If you want to focus fully on the subject, consider using a simple background like a solid wall or sheer curtains. If you can’t avoid a busy background, open up the aperture to soften it. After you shoot a few frames, pause and review, especially if you’re working with a cluttered space. Make sure your clients don’t get lost in the clutter and that there aren’t any distracting elements in frame.
“Be aware of the affect of lamps and overhead lights on the white balance of an image. Either turn them off, or – if you use the extra light they give – be sure to pay attention to the white balance in post production.”
– Mandii Jones, Xanthe Photography
Be Intentional
If you DO incorporate messy bits into a photograph, make sure they truly add to the story. A stray child’s toy may say a lot about the family you’re photographing, or a couple of used coffee cups in the foreground may compliment your early-morning session perfectly!
Look for stories in every image you take. If there’s no story, it may not belong.
Reassure & Take Charge
Unless your clients are professional models, your families are likely a bit nervous about the portrait process. It’s your job to reassure them. Tell them they’re doing a great job, that their outfits look wonderful, and that everything about their indoor photo experience is proceeding beautifully.
The more you encourage, the more they’ll relax. Relaxed families are happy families, and happy families are the kind you want to photograph!
What are your indoor photography tips?
Written by ANNE SIMONE | Featuring XANTHE PHOTOGRAPHY


