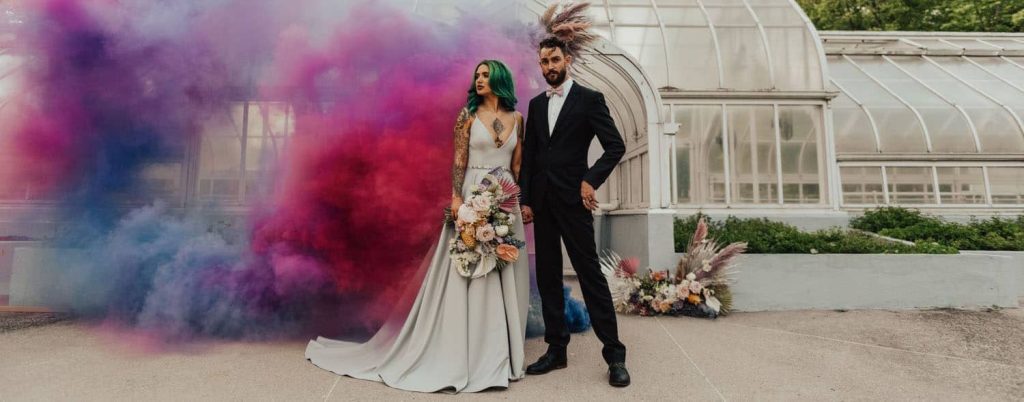
Five photographers share their tips for making the ultimate smoke bomb photos. Infuse your photographs with color and texture using smoke bombs!
We talked to five photographers who have experience making smoke bomb pictures, and asked them for their tips and ideas. See how these artists are bringing their images to life with billowing smoke, bright colors, and creative lighting!
Add Vibrant Color to Your Images with Smoke Bombs
Smoke bombs come in an array of colors. By mixing and matching tones, you can dramatically enhance the color palette of any image. This series by Bruna Kitchen is an excellent example of how colorful smoke bombs can make muted images pop.
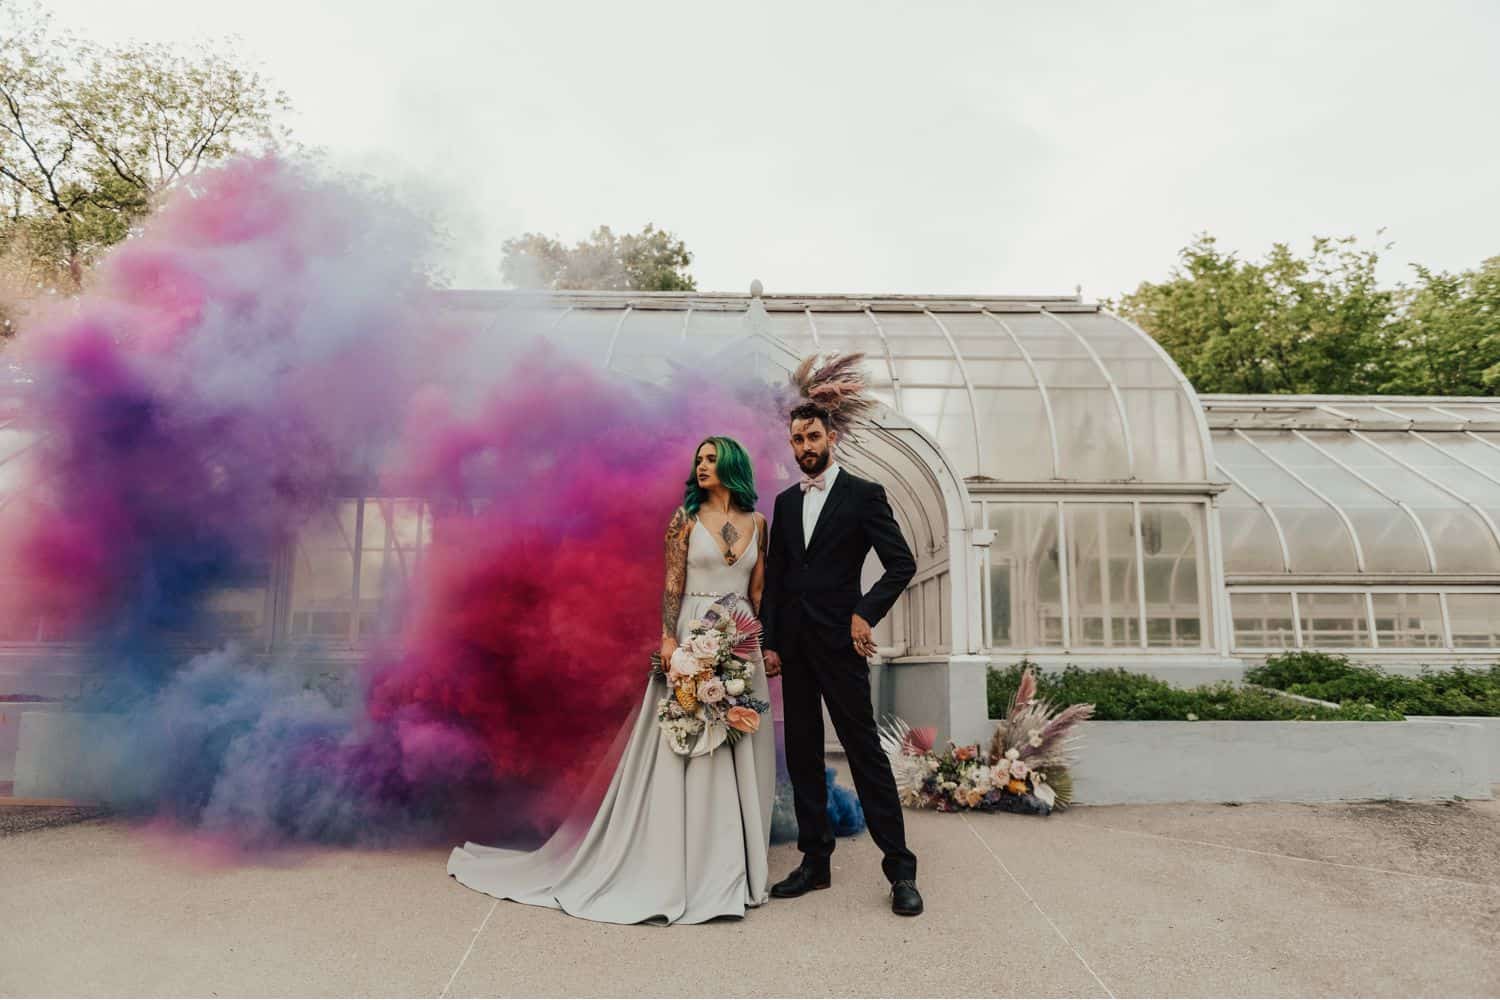
Smoke Bomb Photos by Bruna Kitchen
Tips from Bruna Kitchen Photography | Texas
What do you and your clients love about these images?
Smoke bombs make all images and scenarios look so magical! They create a unique atmosphere for the shoot.
What are your top tips for smoke bomb photography?
- Do not use a smoke bomb indoors.
- Make sure the smoke bomb is not pointed toward your client’s or model’s clothes. It can stain the outfits!
- Do not place smoke bombs on dead grass. They can start a fire!
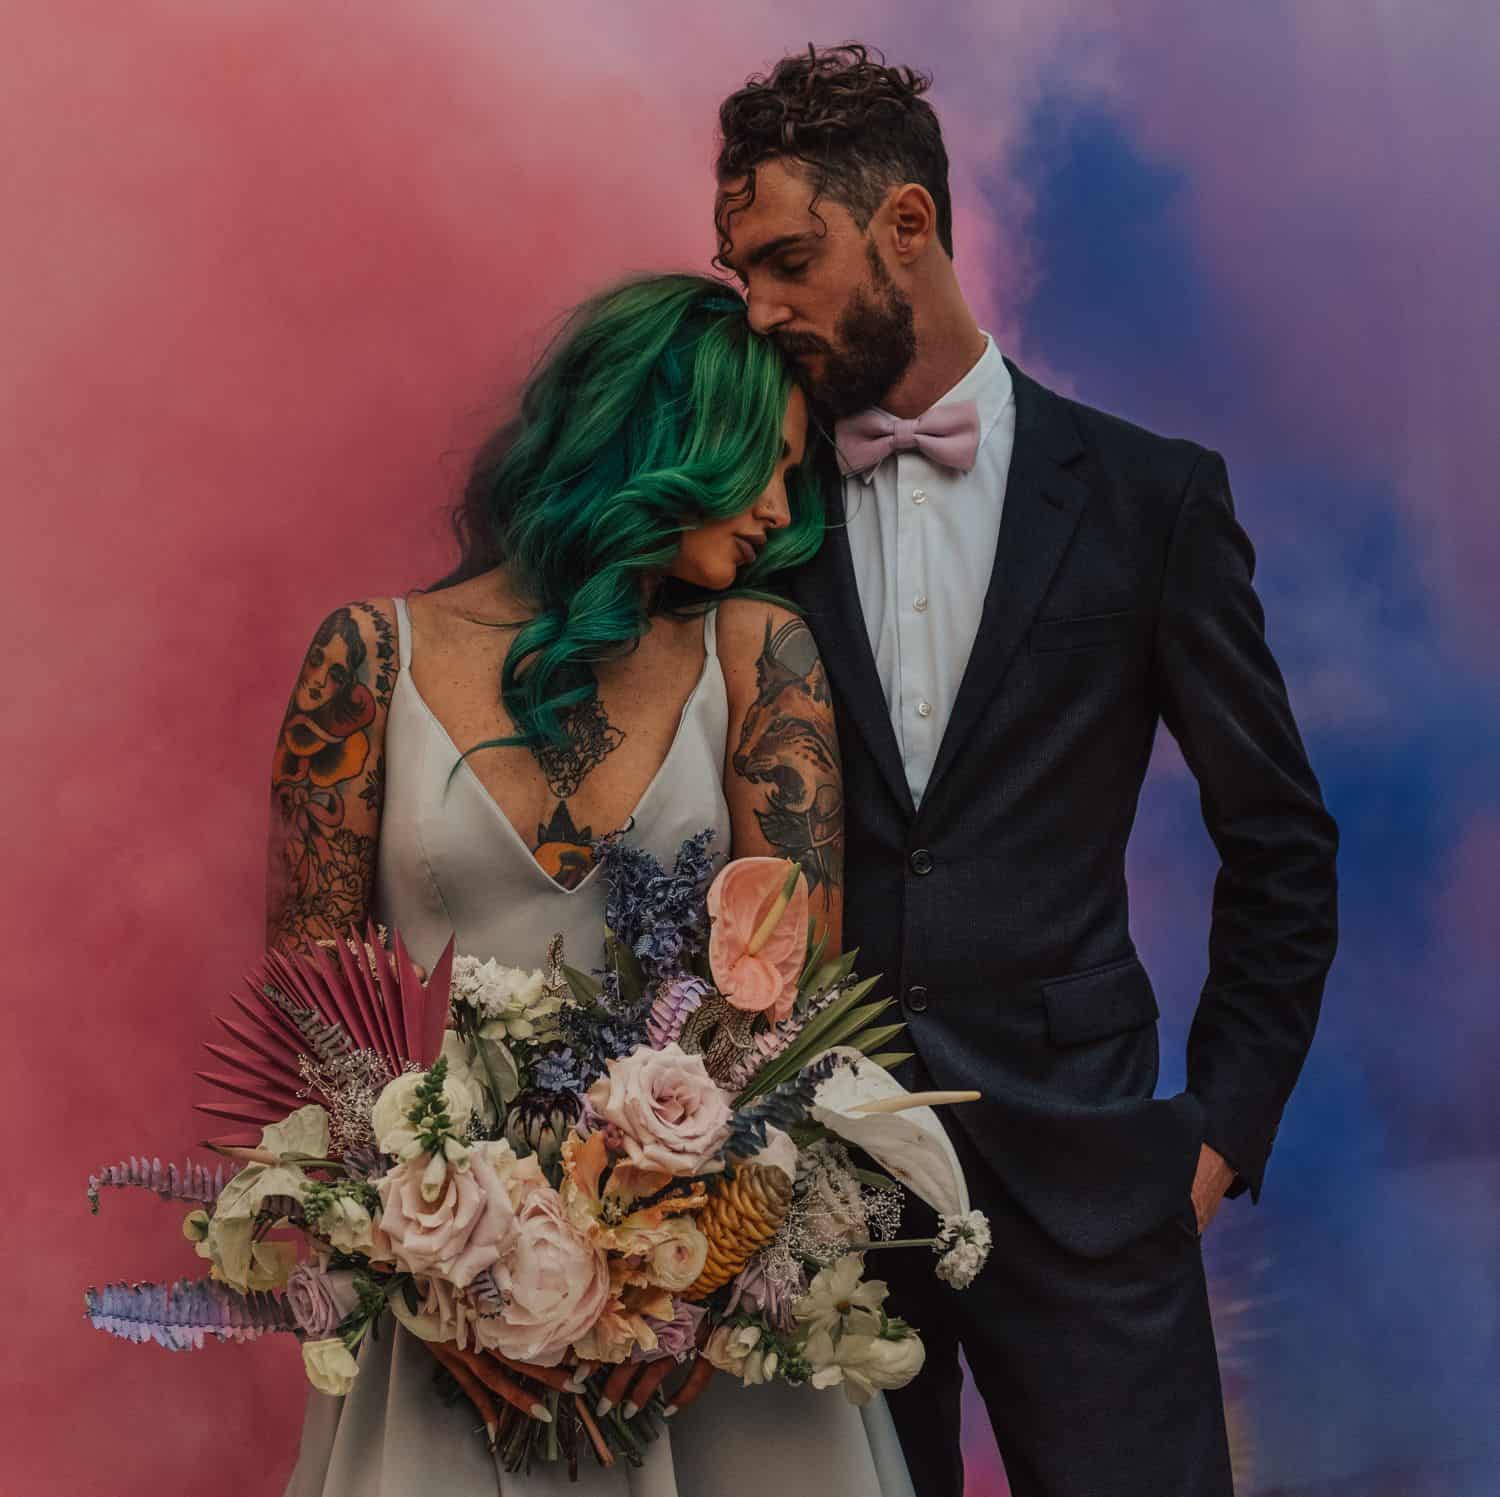
Smoke Bomb Photos by Bruna Kitchen
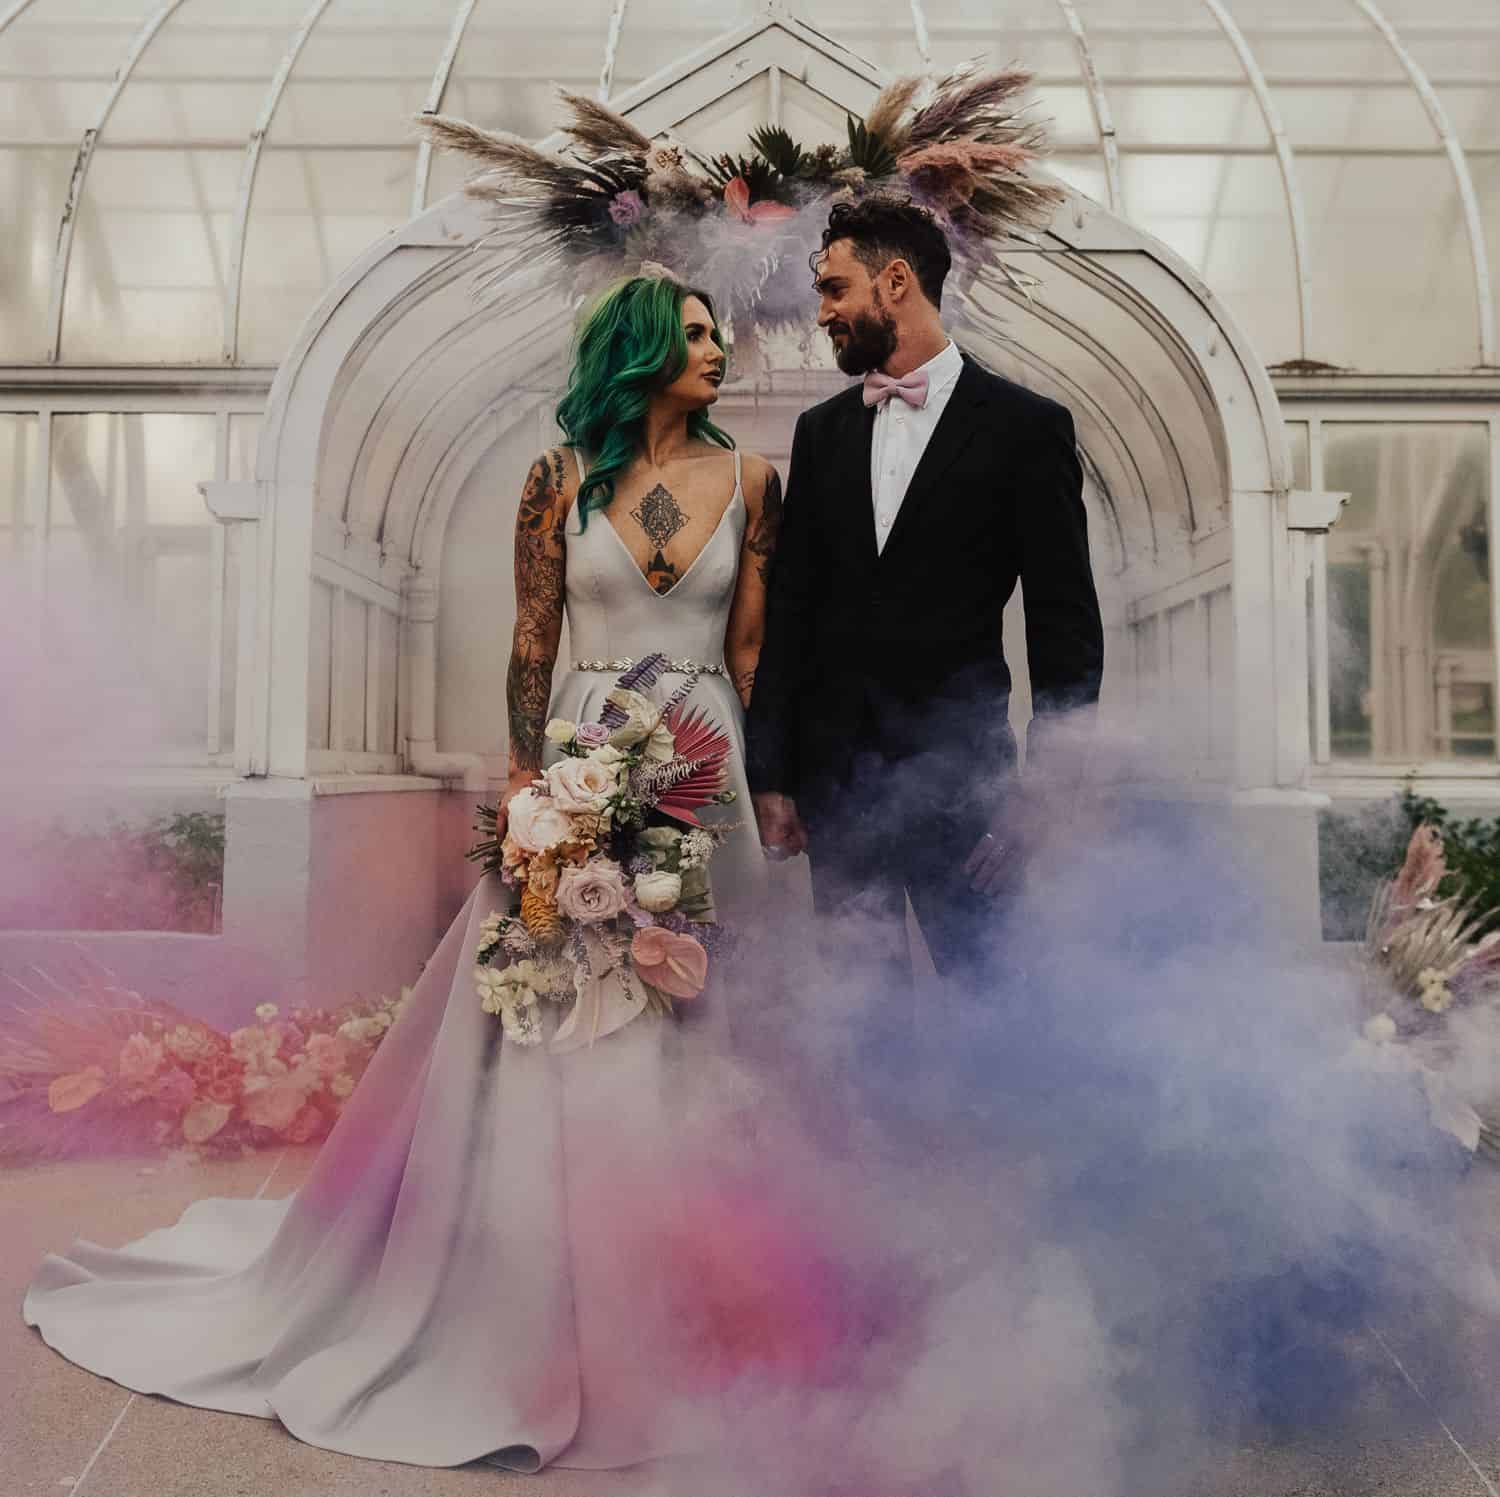
Smoke Bomb Photos by Bruna Kitchen
Amp Up the Romance
These images don’t need massive clouds of smoke to have impact. Make your images dreamy and romantic with wisps of foggy color and layers of mist-like smoke.
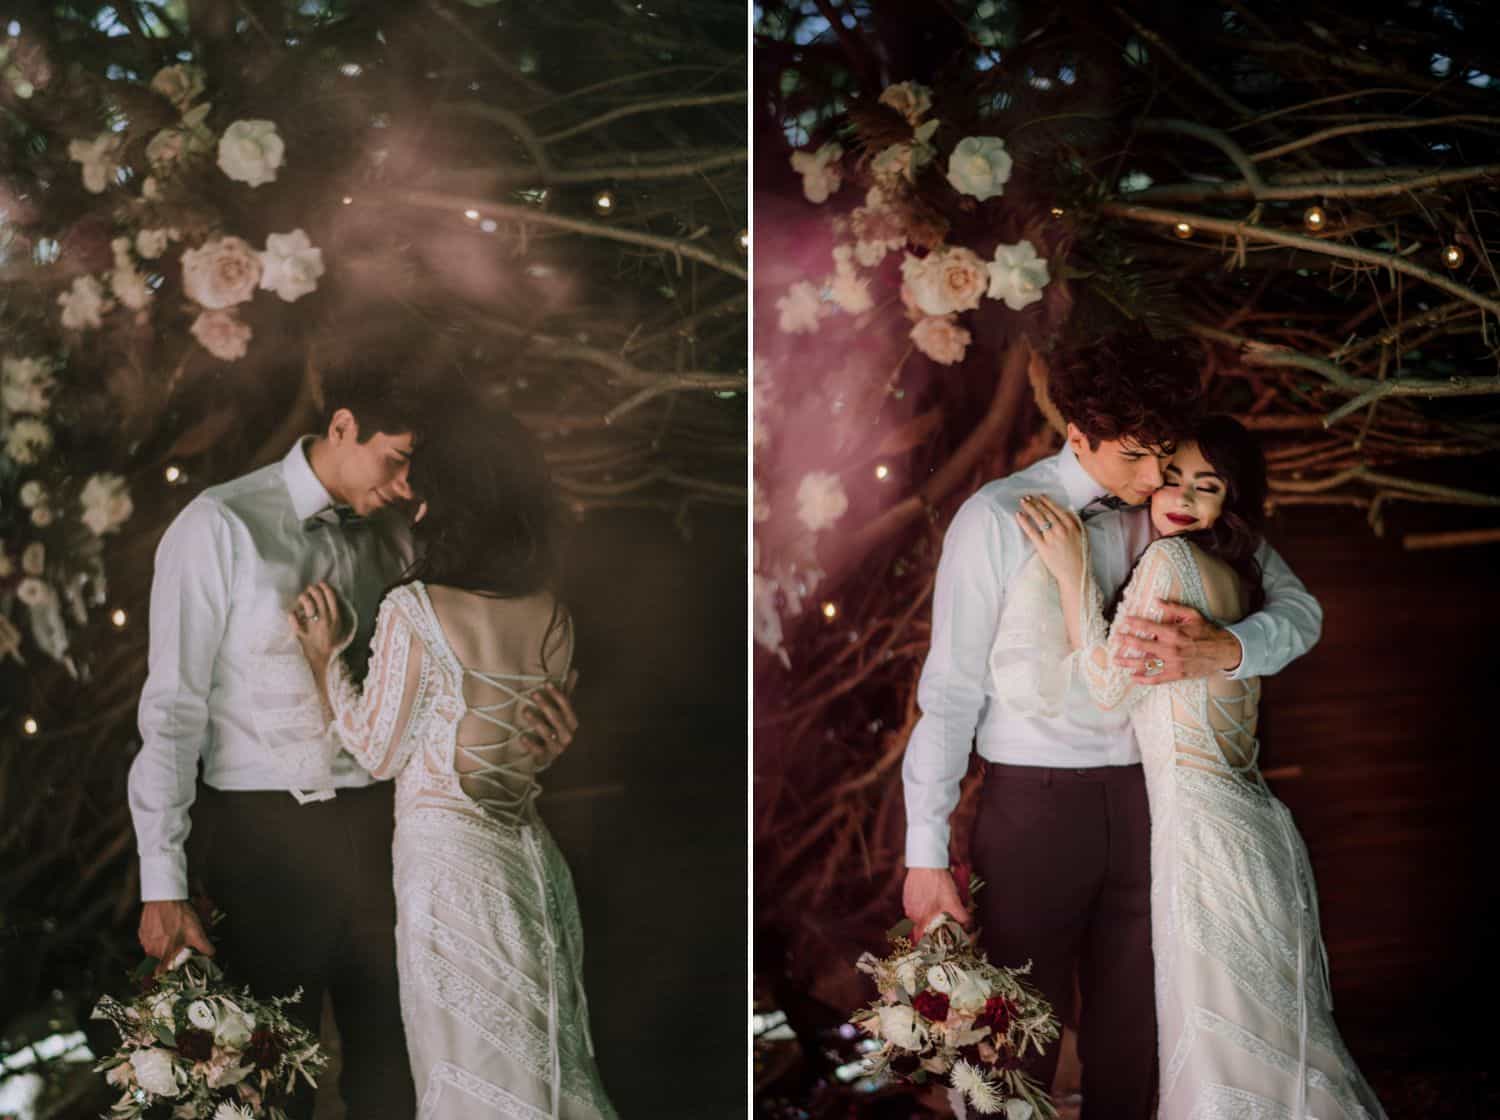
Smoke Bomb Photos by Cait Fletcher
Tips from Cait Fletcher Photography | Connecticut
What do you and your clients love about these images?
The color choices! Who doesn’t love a pop of color? In this one photo that you’ll see, the smoke even made a heart! It was fate!
What are your top tips for smoke bomb photography?
1. Have backup smoke bombs. You’ll want to have enough in stock for all the photos you need!
2. Be aware of the wind. Sometimes the wind can change and could blow the smoke right in front of the subjects.
Smoke grenades tend to be pretty stinky – and they’re not healthy for your lungs! You may find it best to let the smoke dissipate for 10-20 seconds before placing your subjects in its path. At the very least, make sure the source itself isn’t too near your clients.
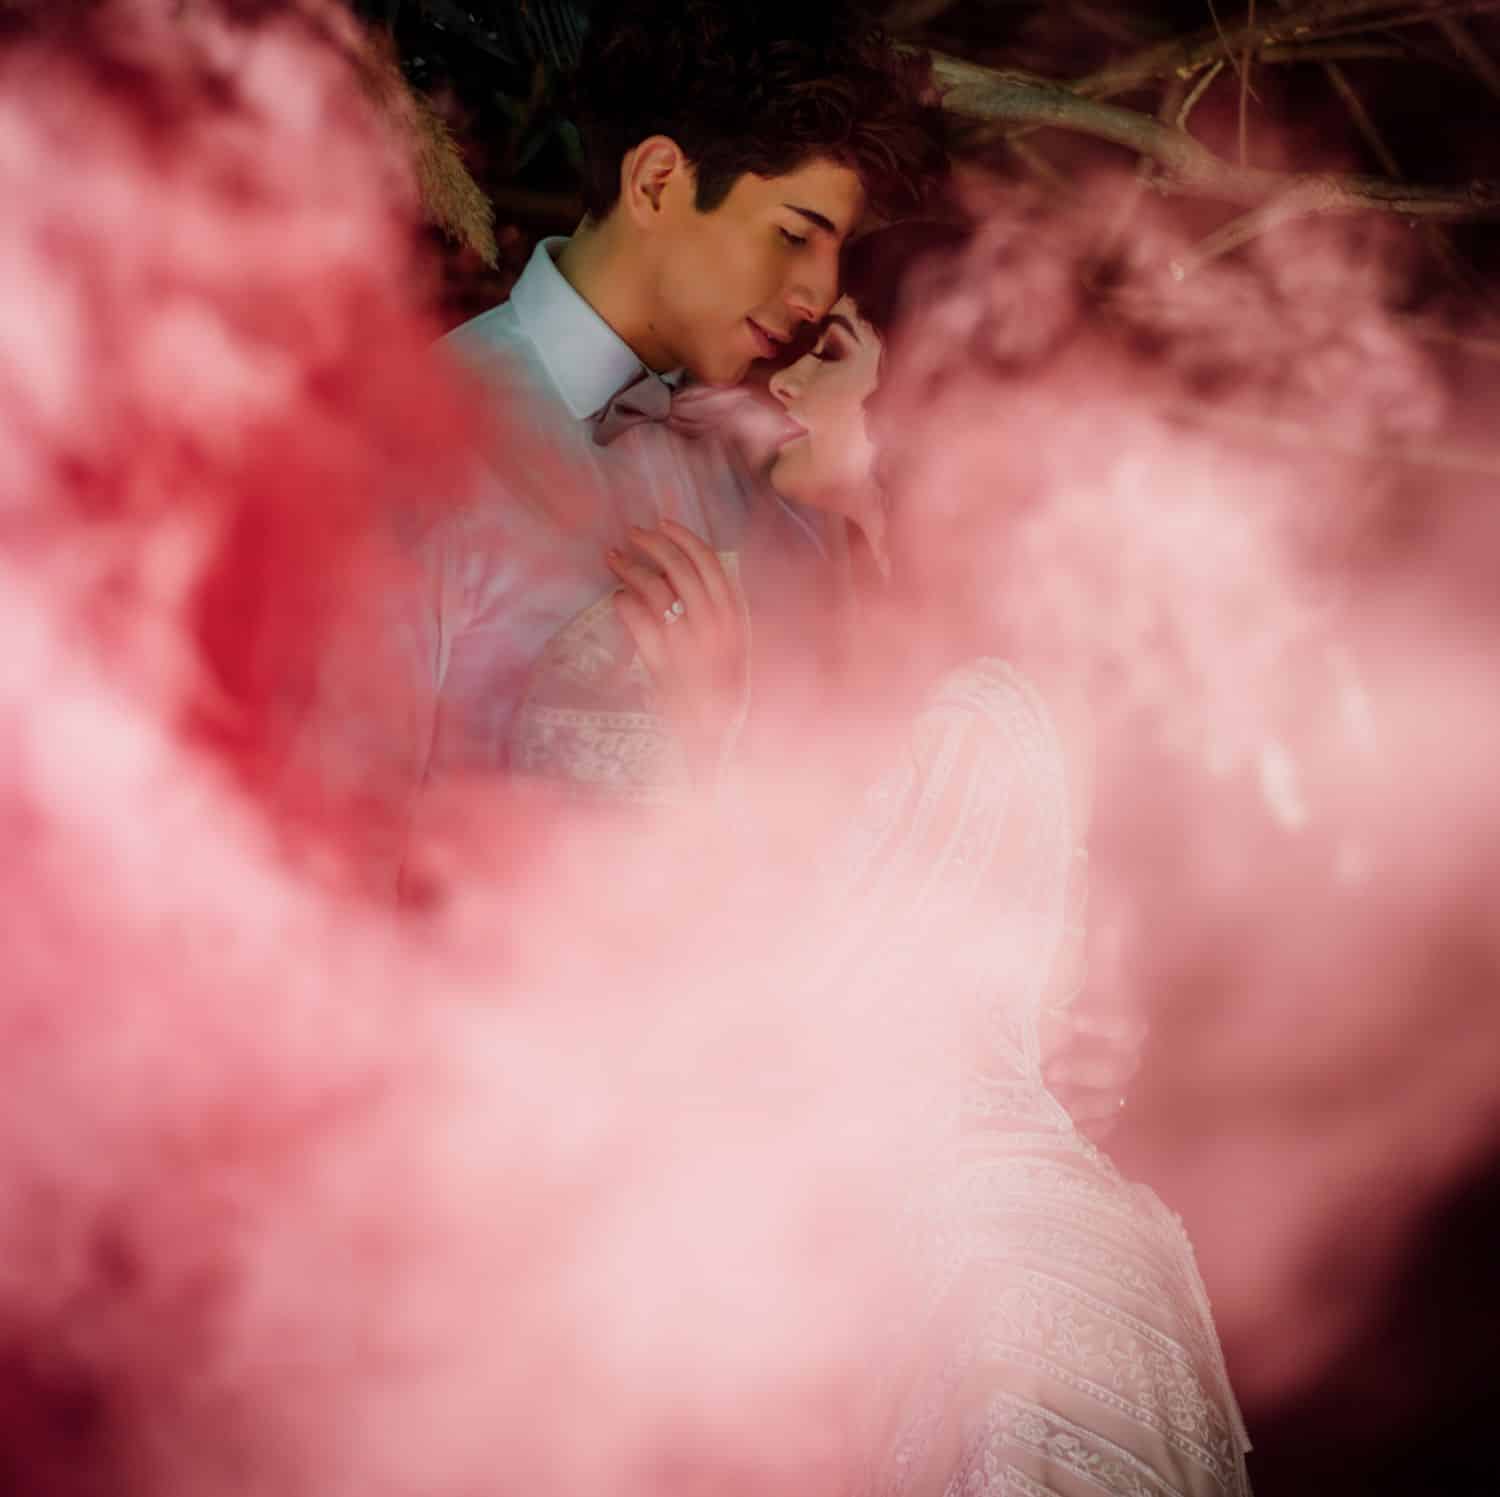
Smoke Bomb Photos by Cait Fletcher
Lighting Makes These Images Even More Fun!
Add a few off-camera flashes to create interesting shadows and shapes with your smoke! Be careful not to use an on-camera flash fired directly at the smoke, however. It can bounce off thick clouds of smoke, completely obscuring your clients and flattening the appearance of the smoke texture.
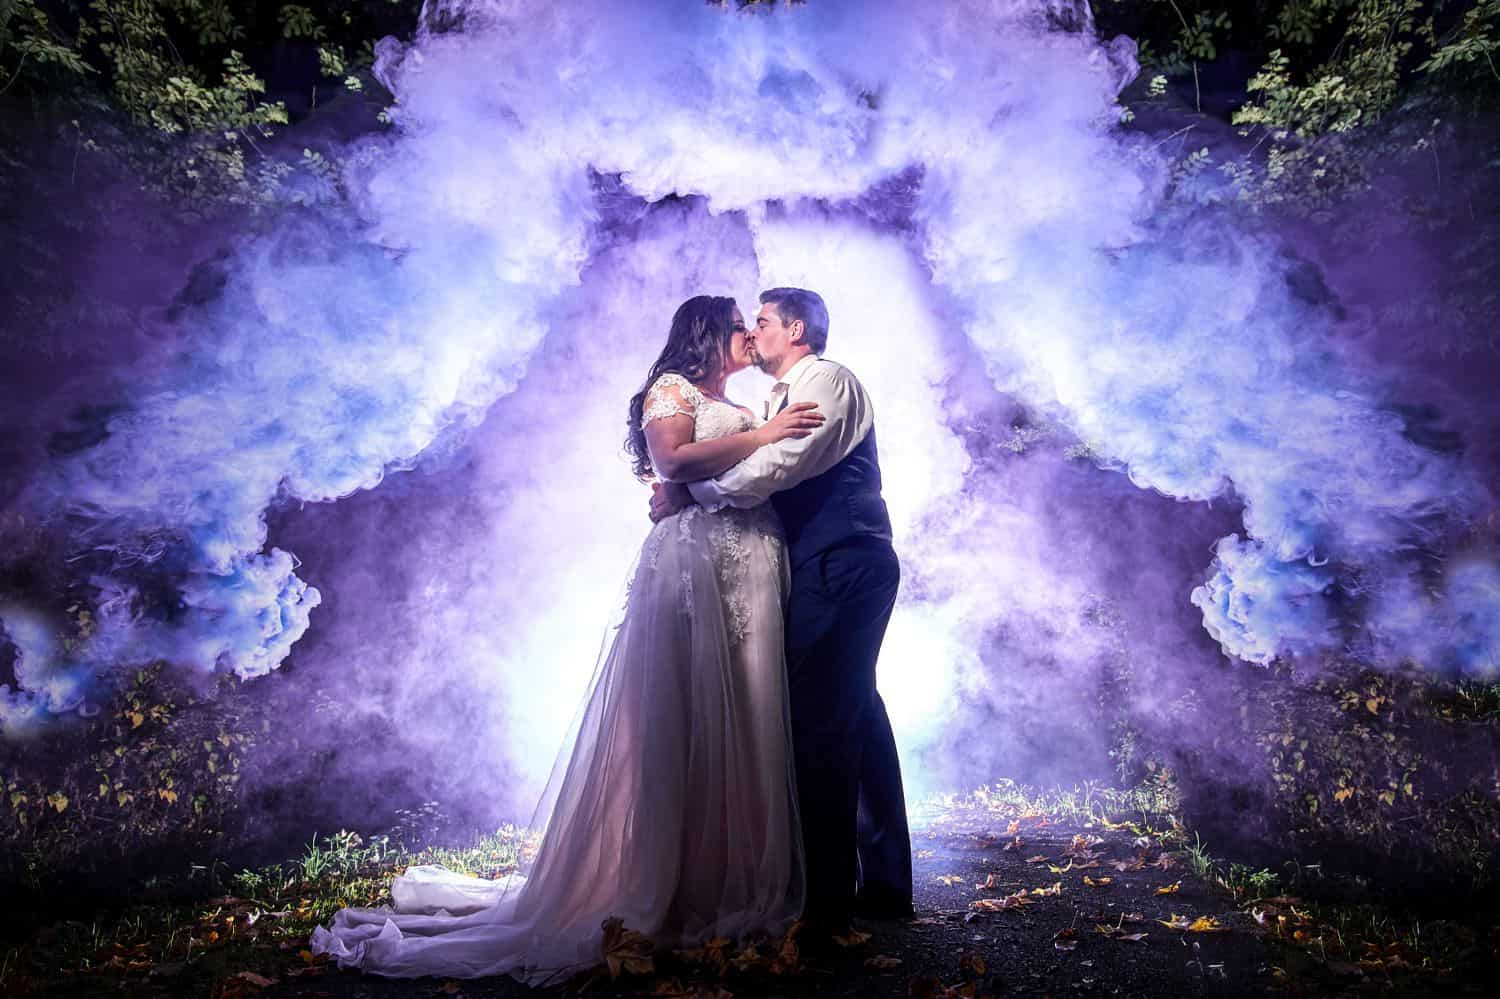
Smoke Bomb Photos by Lavender Bouquet Photography
Tips from Lavender Bouquet Photography | Washington
What do you and your clients love about these?
I think clients like them because it’s a newer trend, and it’s a fun way to add a pop (or three) of color into an image. We like them because they are a challenge! We use a lot of off-camera flash, and the smoke scatters the light, which can work for us or against us depending on the look we’re going for. Sometimes the photos come out differently than expected, but the result is always awesome!
What are your top tips for smoke bomb photography?
- Buy from a reputable smoke bomb vendor. Read reviews about how long they last, etc.
- Bring more than one smoke bomb because one could be a dud, or they may burn out too quickly.
- Make sure your clients are okay with maybe getting some color from the smoke on their clothes. It’s best to wait until the very end of a shoot to bust out the smoke bombs!
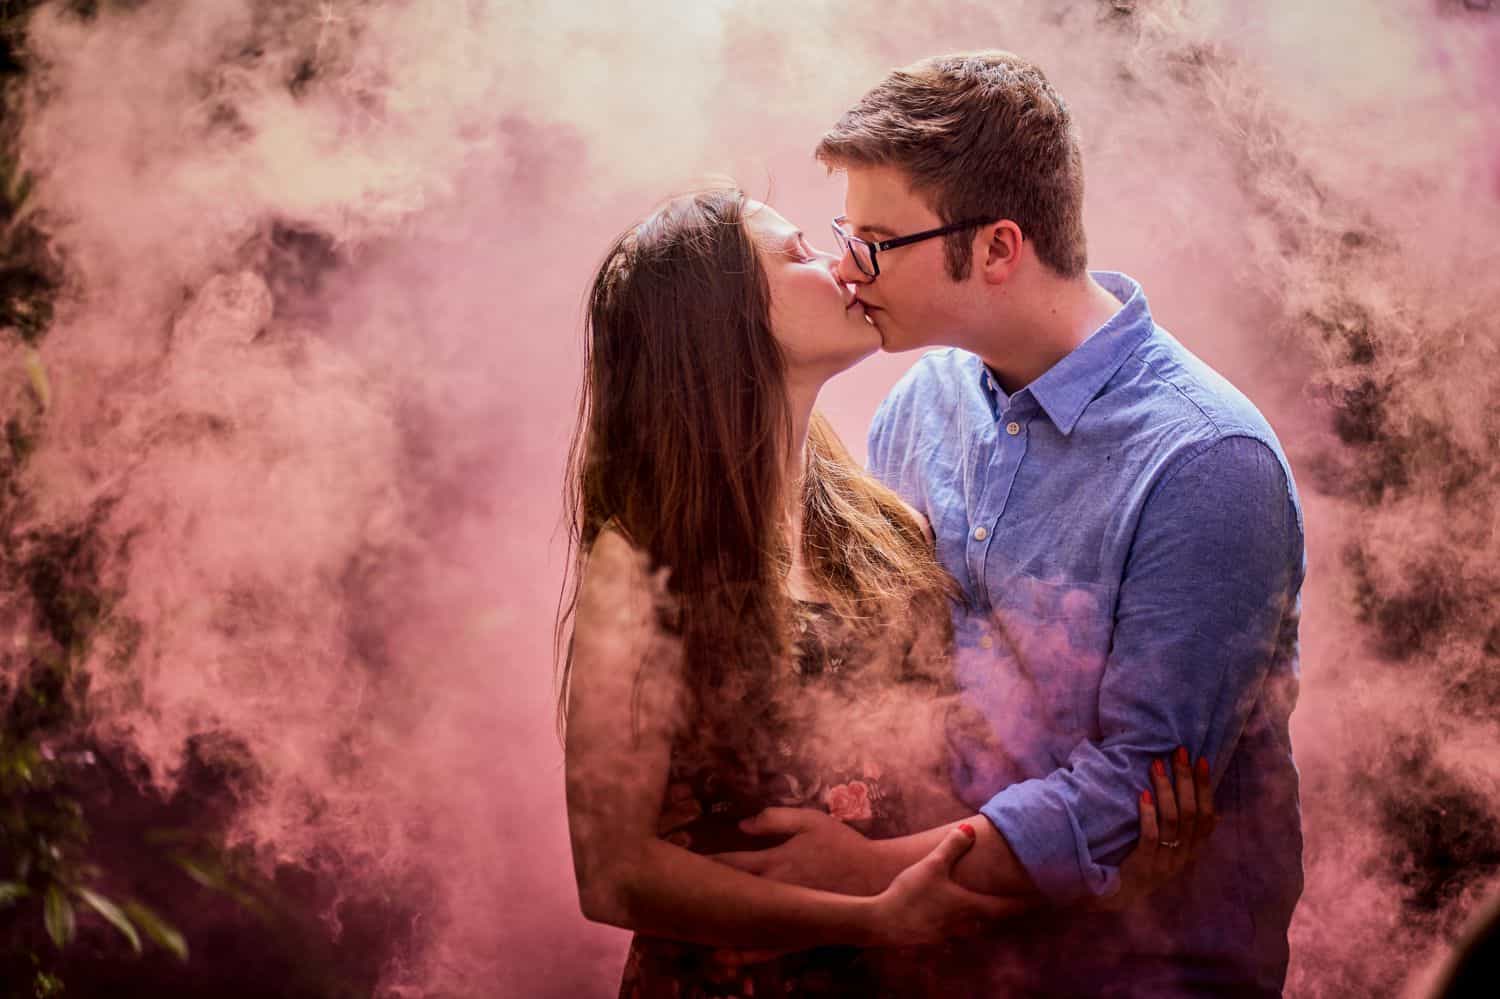
Smoke Bomb Photos by Lavender Bouquet Photography
Create Your Own Backdrop
Say goodbye to unsightly scenery when you use smoke bombs to hide a dull background. Just be aware that most smoke bombs only last about 60 seconds, so you need to be ready to shoot the moment you have the look you’re going for!
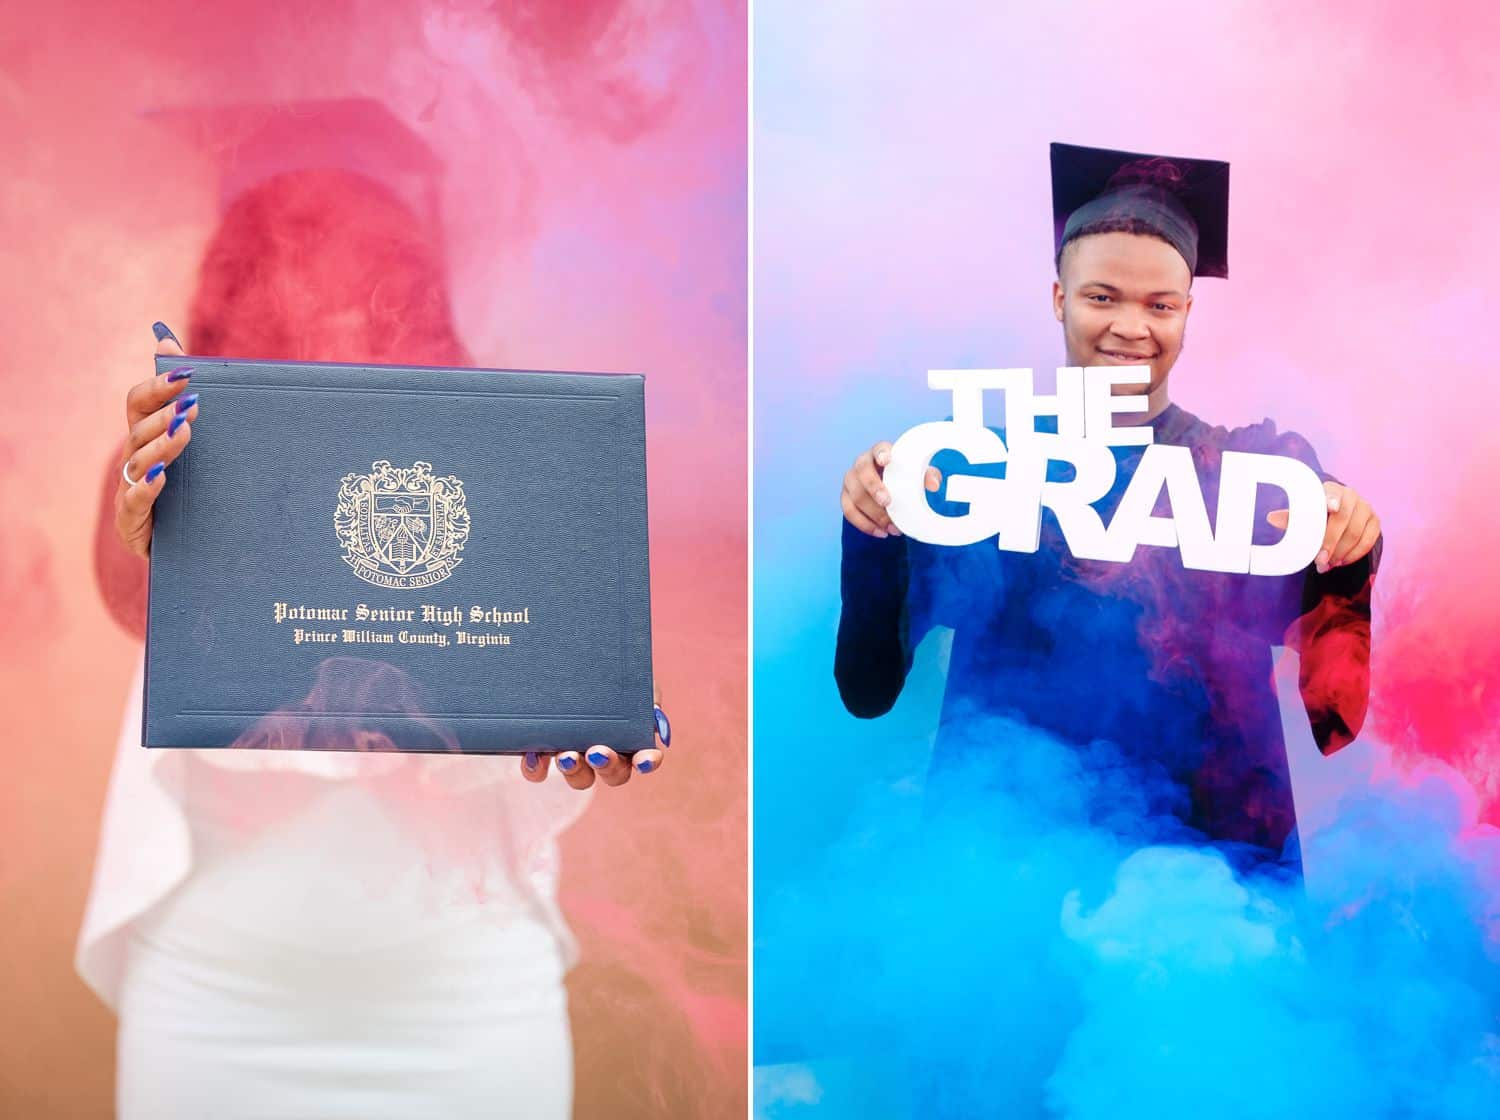
Smoke Bomb Photos by Chip Dizárd Studios
Tips from Chip Dizárd Studios | Maryland
What do you and your clients love about these images?
We love that we are able to create a different background using two colors of smoke!
What are your top tips for smoke bomb photography?
- Bring an assistant. It’s hard to use smoke bombs alone! Make sure your assistant knows how to use smoke bombs, too, because you only have one chance.
- Choose a location that is not crowded. Smoke bombs attract a lot of attention, and you don’t need people peeking through to see what is going on!
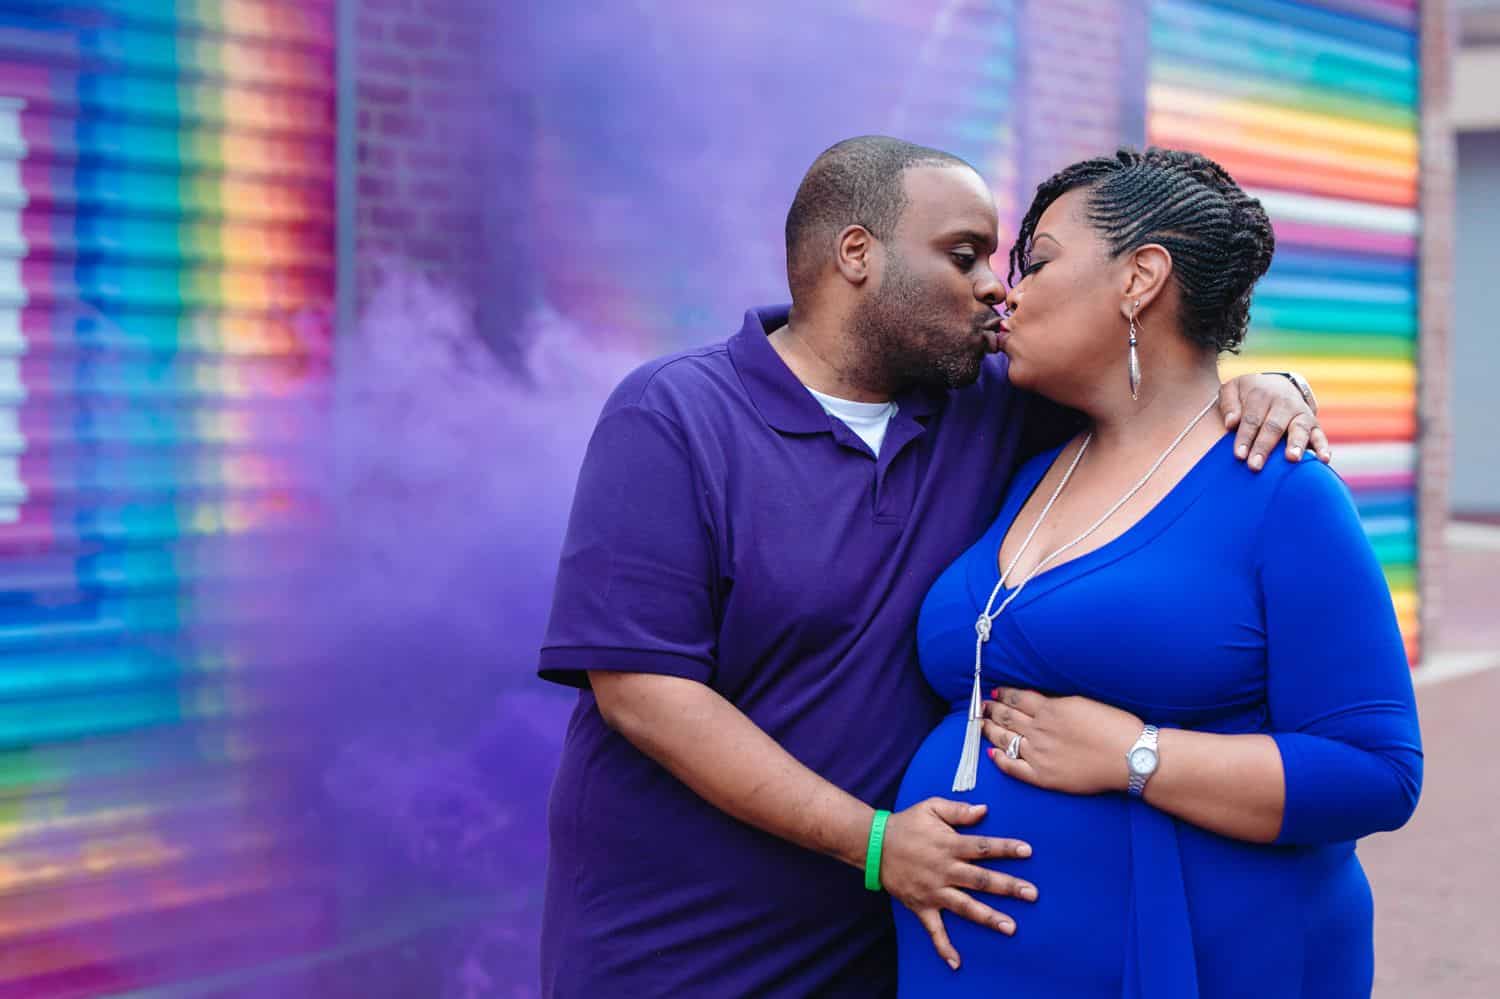
Smoke Bomb Photos by Chip Dizárd Studios
Tell a Stronger Story
For particularly innovative, story-driven images, smoke bombs can elevate the mood and enhance the drama. Combined with the right post-production, you’ll have a finished photo that looks like it was shot on a movie set.
Tips from Capture Wonder Photography | Georgia
What are your top tips for smoke bomb photography?
- Make sure your lighting and camera settings are perfect before you ignite the smoke bomb. You only have 30-60 seconds to capture the shots before the bomb goes out.
- Smoke is unpredictable, and it will blow between you and your subject. Direct your subject to be conscious of themselves and the camera. If they can’t see the camera, that means the camera can’t see them!
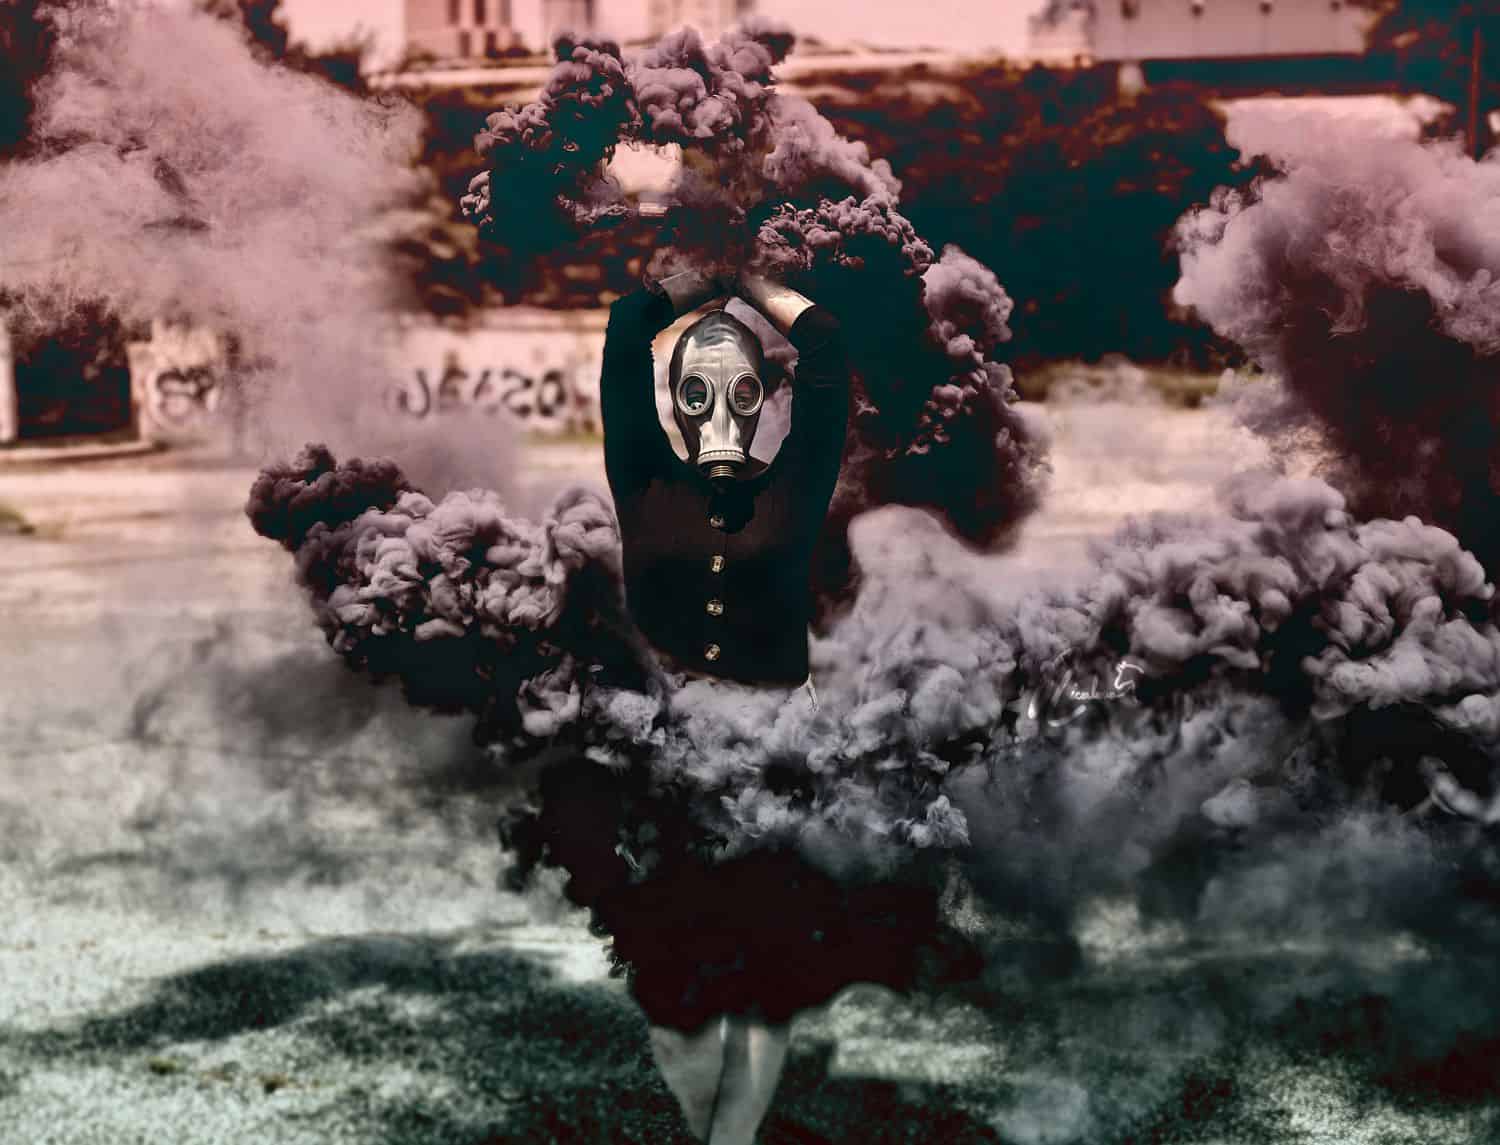
Smoke Bomb Photos by Capture Wonder Photography
Additional Tips on Using Smoke Bombs for Photography
Before you run out and try this for yourself, set some safety guidelines so you can avoid mishaps when pulling off this specific kind of creative photography. Along with the awesome tips shared above from experts, here are some additional insights when it comes to these sessions.
Find the Right Type
There are two types of smoke bombs for photography: wire pull grenades and canned ones. Wire pull grenades are easier to use than canned ones that require a lighter. Although wire pulls may be a bit expensive, they will provide more smoke, allowing you to take several shots.
Since the choice may depend on your smoke bomb photography style, you can choose either of them. Here are some specific features to consider:
- Burn time: choose a product that will give you 60 to 90 seconds of active smoke.
- Density: the smoke’s density will impact opacity in your images. Determine if you need sheer or mist-like coverage, or a fuller, more opaque effect.
- Activation: Do you want the straightforward way of pulling a wire or do you prefer using a lighter to ignite it?
Pro Tip
Enola Gaye is the world’s most popular and safest option to use. For starters, you can use the Enola Gaye WP40 Smoke Grenade. Commercial photography pros give this brand excellent reviews. Their products generate colored smoke that enhances effects for television, film, photography, and events.
Safety First
Smoke grenades are generally safe for use around people, although the smoke can cause eye or throat irritation. And like any pyrotechnic device, smoke grenades are explosive. Since there may be sparks, keep them away from clothing to avoid stains, and never point them directly at someone.
In addition, avoid storing them in humid spaces like basements. Moisture can cause malfunctions inside the device, which may also cause an unexpected explosion.
Remember, do not use these devices around anything flammable. That’s why pros advise staying outdoors–smoke bomb photography shoots indoors are risky. Of course, avoid dry or arid settings, especially during summer and early fall.
Bring Water
We all know grenades are capable of smoke flares, which can ignite vegetation or flammable materials. That’s why you should treat these like fireworks and always bring a bucket of water to the shoot, just to be prepared.
If the smoke grenade becomes clogged for any reason, it can burst and spew sparks. When this happens, drop it in a metal bucket and move a safe distance away. You also have to cool it down with water before you can dispose of it.
Check the Weather Forecast
Wind is a smoke grenade’s worst enemy. While a light breeze can accentuate the colorful smoke, anything stronger will dissipate the smoke fast. Be prepared to postpone and reschedule your shoot if the weather isn’t ideal.
Know the Law
Some local governments have regulations for smoke bomb photography to avoid fire hazards. Check with local authorities and municipalities, checking with the fire department if you need to get a permit. Some public spaces, like national parks, don’t allow smoke bomb photography.
Teach Your Subject How to Use a Smoke Grenade
Safety first! Teaching your clients and team how to use and handle smoke bombs is important. If someone holds one in a photo, give them instructions about what to do if it gets too hot or seems to be malfunctioning.
Angle the smoke grenade away from the body and hold it toward the bottom. After you light the smoke grenade, a lot of smoke may float toward the subjects’ faces, causing eyes to tear up temporarily. Just set clear expectations and prioritize safety.
Guide your clients to turn their faces away from the natural flow of smoke. Reassure them that it’s okay to move around, and they can move the smoke bombs as well to avoid smoke blowing into their faces.
Experiment With Shutter Speeds
Smoke bomb photography typically relies on a fast shutter speed. If you want to capture the details and puffs of smoke, set your shutter speed between 1/800 to 1/2500 (or higher). Adjust the ISO and aperture to compensate for fast shutter speeds.
The smoke will move around with the breeze, so fast shutter speeds capture a dramatic scene. If you want to achieve a softer, wispy look, try slower shutter speed, so that the motion blur will result in a surreal and mellow look.
Experiment and Be Flexible
Don’t be frustrated out if you don’t capture the photo you were hoping for on the first try! Plan to go through a few iterations so that you have room for error as you experiment and try different things.
To save yourself from wasting entire bombs, plan compositions and poses ahead of time. Take test shots before your clients pull the wire to dial in your exposure and focus.
Drop Your Own Photography Smoke Grenade Tips in the Comments Below!
Share with the ShootProof community:
- Which smoke bombs are the best for photos?
- What safety precautions should photographers take?
- How have your clients responded to their own smoke bomb images?
Written by ANNE SIMONE | Featuring BRUNA KITCHEN PHOTOGRAPHY, CAIT FLETCHER PHOTOGRAPHY, LAVENDER BOUQUET PHOTOGRAPHY, CHIP DIZÁRD STUDIOS, CAPTURE WONDER PHOTOGRAPHY


