As a wedding photographer, you understand the importance of capturing every beautiful moment on your clients’ special day. However, the task of editing hundreds or even thousands of photos can be overwhelming and time-consuming. That’s why in this article, we will be discussing some tips and tricks on how to edit wedding photos fast, without sacrificing quality.
Whether you’re a seasoned professional or just starting in the industry, these techniques will help you streamline your editing workflow and deliver stunning images to your clients in a timely manner. So, let’s dive in and learn how to edit wedding photos efficiently!
We’ll break our tips down into the following categories:
- Workflow Tips While Shooting
- Hardware and Import Tips
- Tips for Editing Wedding Photos
Start your free trial with ShootProof
Tips While Shooting Wedding Photos
The process of learning how to edit wedding photos quickly begins before picking up the camera. A good workflow with optimal settings is where the time savings start.
Shoot Compressed RAW
We all know the benefits of shooting RAW over JPEG, but have you compared the differences between full RAW and compressed RAW. If your camera allows it, consider choosing a medium or compressed RAW as your standard format. The flexibility of RAW files during post-processing makes it an indispensable format, however new cameras often boast 50 or more megapixels, which can be excessive for portrait photography. In reality, 20-30 megapixels are more than adequate for this genre of photography.
Decreasing the size not only enables you to save storage space, but it also improves your editing device’s performance.
Don’t Overshoot
With the advanced focusing systems of newer DSLR and mirrorless cameras, you should not have to rapid fire to get shots you need. Take your time and be deliberate about each click. The fastest way to cut down your editing time is simply starting with fewer photos! Cutting your image count down will directly impact your overall import, culling, and editing speed.
Shoot in Manual Mode & Custom Kelvin
The next tip is to maximize the “syncability” of the images with consistent exposures and color temperatures.
Shoot in Manual Mode During Weddings
Maintaining consistent exposures is essential for efficient batch processing. Auto modes, such as aperture priority, shutter priority and program mode can result in varying exposures that require individual adjustments. Remember, an extra few seconds on a thousand images can mean 30 minutes to an hour of additional editing time!
Shoot with Manual Color Temperature
Just as important as shooting in manual mode is fine-tuning your color temperature in camera and syncing it up with all of your other shooters at the wedding. If the initial Kelvin looks “off” part way through the shoot, don’t change it. In the editing process, it’s easy to fix one image and sync the settings across the entire scene so long as the Kelvin is set manually and no changes are made throughout the scene.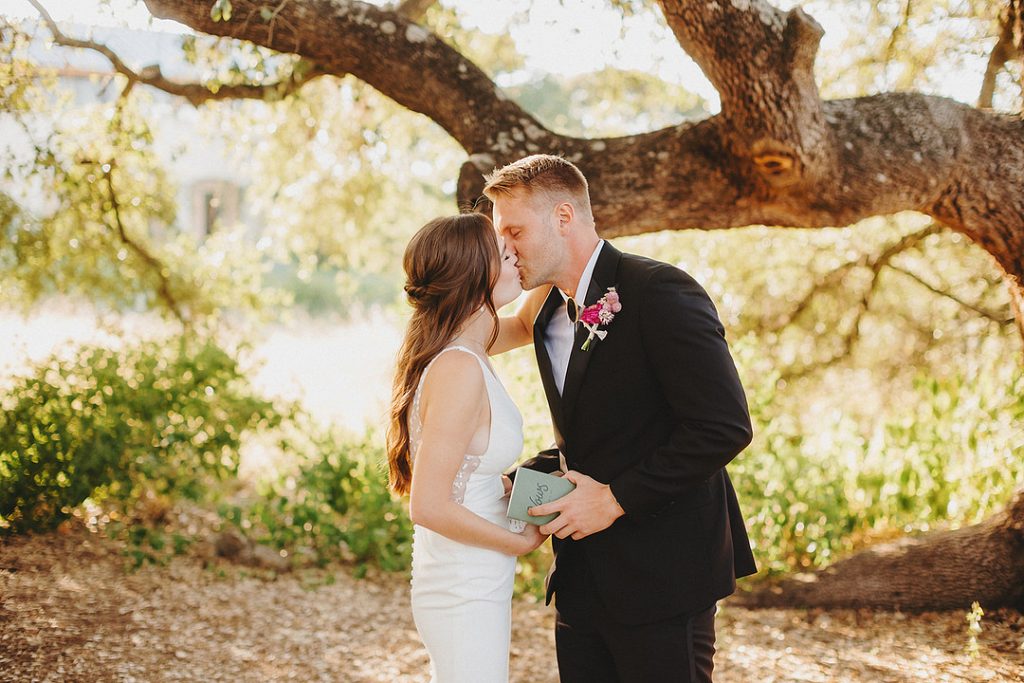
Hardware and Import Tips
It’s important to keep in mind what other hardware you’ll need to maximize your editing speed.
Use a High Speed Card & Reader
Make sure you’re using a high speed memory card as well as a high speed memory card reader. Having a high speed memory card reader can save you 10-20 minutes just from the import process depending on the number of cards you have to import.
Import with Smart Previews
Building smart previews in Adobe Lightroom can significantly improve your editing speed by allowing you to work on your images without accessing the original files. Smart previews are smaller, lower-resolution versions of your photos that can be used as a substitute for the original files.
When you build smart previews in Lightroom, you can continue to edit your photos even when the original files are not available, such as when you’re working on a laptop while traveling. This can help speed up your editing workflow by reducing the time it takes to load and render high-resolution images. Additionally, working with smart previews can also help save space on your hard drive by reducing the amount of storage required for your photo library.
Import to Your Fastest Internal Drive
Ideally, you’ll want to import your images and keep your catalogs on a local SSD drive. Try to avoid using external hard drives, since sorting through and editing high volumes of high-resolution images requires a ton of data bandwidth. If you absolutely must use an external hard drive, make sure it’s an SSD connected to the fastest port available.
Photo Editing Workflow
Next let’s review some tips for the actual editing process.
Start your free trial with ShootProof
Keep Your Culling Simple with a “Cull-in” Workflow
When culling a large number of images, eliminate the need to consider too many factors and make too many decisions. Keep it simple with a “yes” or “no” workflow. Instead of spending time making complex judgment calls, try out what we call “Culling-In.” This means that you’re going to assume that every image is going to be rejected unless you flag it as a keeper. As you move through each image, you’ll only be thinking one thing: Do I want to deliver this image?
We recommend exclusively using the flagging feature by using the keyboard shortcut “P” and nothing else. No stars, no colors, not even “rejects.” Just start without any labels, quickly glance at each image, and press “P” as you come across your keepers.
For added efficiency, turn on “Auto Advance” which will automatically move you to the next image after flagging, saving keystrokes. Ideally the culling process for each wedding takes you under 20 minutes to complete.
Use AI-Based Editing Software
The next tip is to leverage the latest technology and consider AI Photo Editors such as Impossible Things.
These AI Photo Editors can greatly speed up your editing process by doing the majority of the heavy lifting for you, adjusting all of the major settings and applying a stylized look to the images.
From there, all you have to do is review, correct any edits that the AI got wrong, and finish up any advanced edits.
Sync Your Photos Per Scene and Lighting Condition
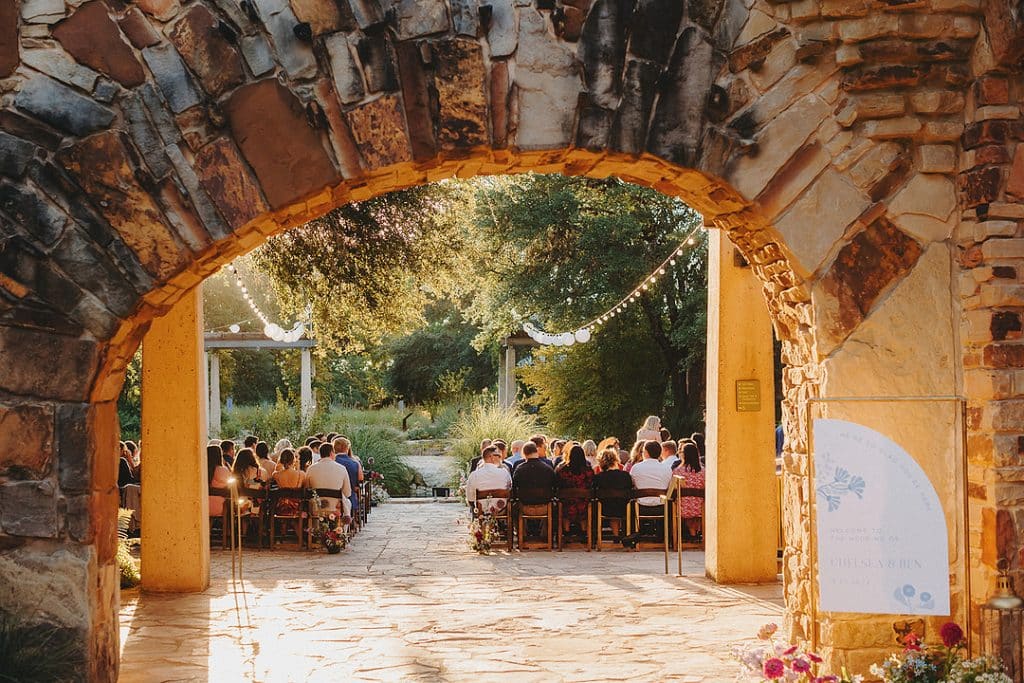
Different lighting conditions require different editing settings. Therefore, we recommend that you edit by scene and by lighting condition. This will give you much better results as you “sync” your develop settings across your set of images.
To do this, make your adjustments to the first image of a given scene. Then, select the last image in that scene, and copy all of your adjustments over. Repeat for each new scene until all of your images are edited.
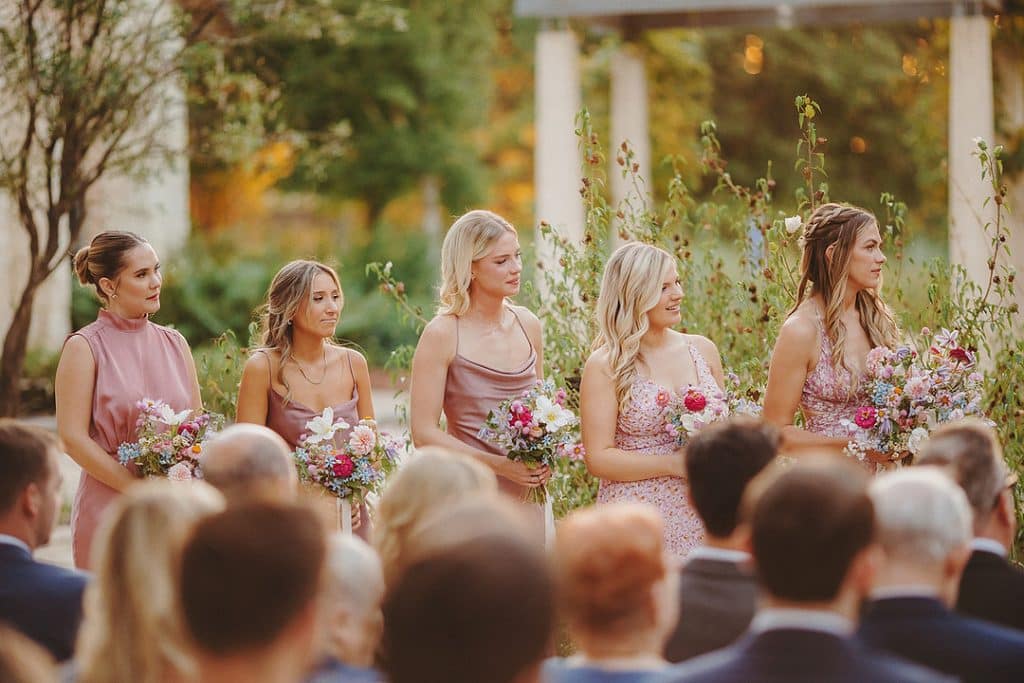
If you’re working with multiple cameras, filter through your cameras by selecting “Camera Serial Number” (In case there are more than one of the same camera). Follow the steps to edit the first scene, then move to the same scene on the next camera(s), ensuring that any differences in camera profiles are corrected. Follow the same steps for each scene.
If you’re using Lightroom Presets, be sure to use ones that are created and tested with different lighting conditions in mind. Almost any preset looks great in soft light, but the most useful ones will also help you overcome difficult lighting situations.
Minimize Photoshop Editing
Photoshop adds time to your editing, so it should be minimized or even eliminated from your overall workflow. Consider using it as a “break in case of emergency” software only and learn how to do the majority of your editing in Lightroom. As Lightroom becomes more and more advanced, Photoshop has become less and less necessary, even for retouching, HDRs, and other more advanced features that were previously impossible to do with Lightroom.
If you must use Photoshop, save it for the end so that you can minimize the transitions between Lightroom and Photoshop and stay in the flow.
In conclusion, editing wedding photos can be a time-consuming and daunting task, but with the right approach and tools, it can be done quickly and efficiently. By following the tips outlined in this article, such as batching your edits, using quality presets, and culling in, you can streamline your editing process and deliver beautiful, professional-looking wedding photos to your clients in a timely manner.
Remember, editing is an essential part of the photography process, and taking the time to do it right can make all the difference in the final product.
Written by SLR Lounge | Photos by TWO PAIR PHOTOGRAPHY via TwoBrightLights

