How to Make 10 Amazing Wedding Portraits Using Off-Camera Flash
You’ll LOVE these 10 breathtaking examples! With easy flash techniques, you’ll soon be making amazing wedding portraits using off-camera flash.
Learn to make these portraits and your clients might actually faint
Do strobes scare you? Are you totally terrified by the thought of using off-camera lighting? We enlisted the Black & Gold Photography team to teach us their magical ways! Owners Joel and Cheryl walk you through their steps for making 10 quick, simple OCF portraits that will blow your clients’ minds. (They certainly blew us away!)
Let’s get started…
Black & Gold Photography’s website homepage
Created by BLACK & GOLD PHOTOGRAPHY | INSTAGRAM | FACEBOOK
Here’s what you need to create stunning OCF images of your own:
- At least one off-camera flash. We currently use Strobepro X60 flashes, but any strobe will do.
- Radio triggers, such as the Strobepro XT Pro, to fire your flash off-camera.
- Light modifiers such as a softbox or Magmod grids and gels to add an extra level of creative control.
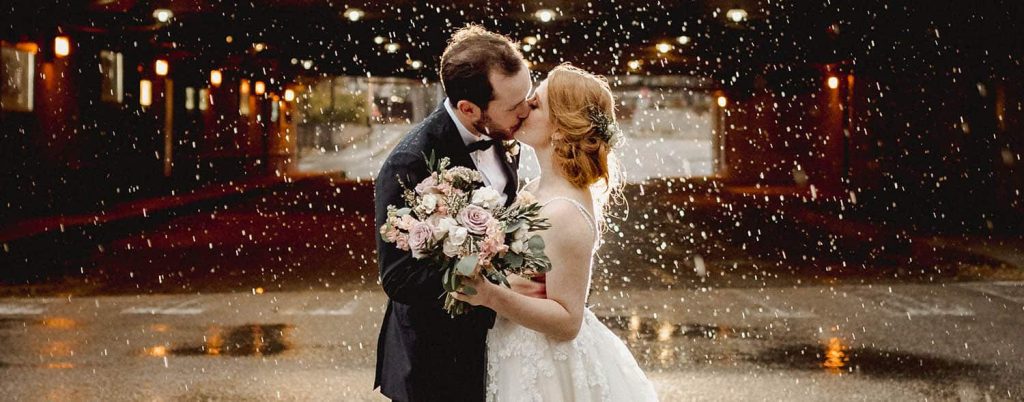
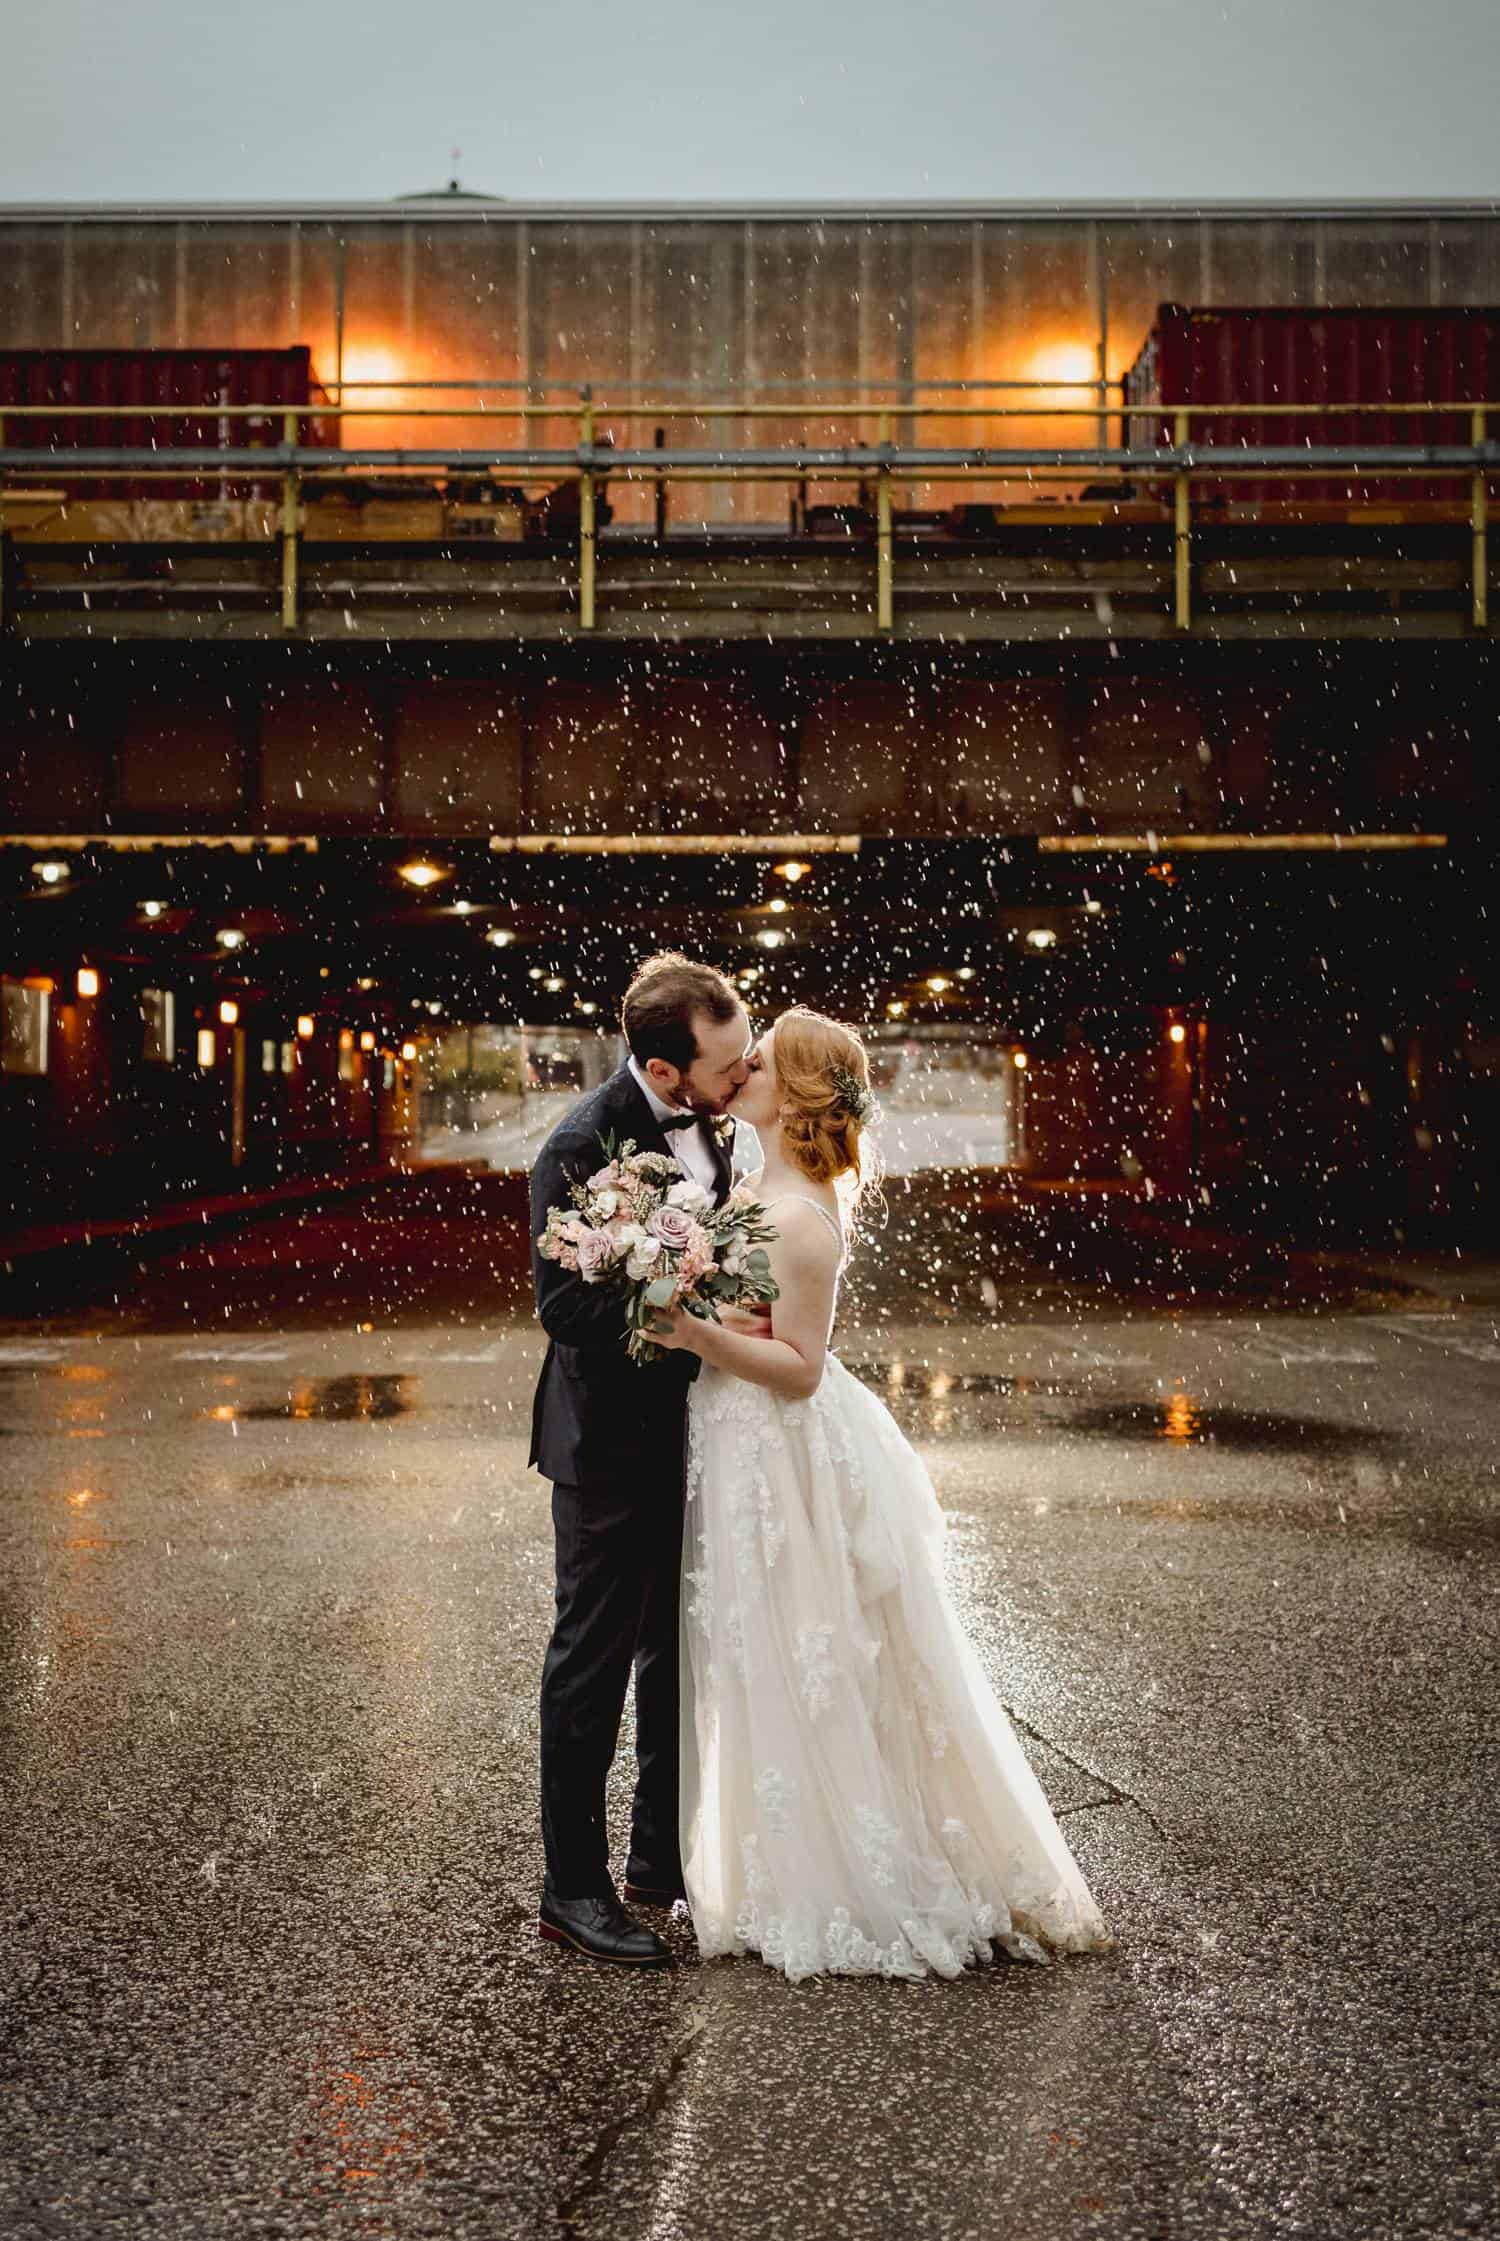
#1: Backlit couple kissing in the rain
Our couple wanted a photograph of them dancing in the rain, but the rain didn’t show up very well using only ambient light. To make those raindrops pop, we used a single bare-bulb flash held approximately 10 feet away and pointed towards the couple.
Black & Gold Photography
Here’s what you need to create stunning OCF images of your own:
- At least one off-camera flash. We currently use Strobepro X60 flashes, but any strobe will do.
- Radio triggers, such as the Strobepro XT Pro, to fire your flash off-camera.
- Light modifiers such as a softbox or Magmod grids and gels to add an extra level of creative control.
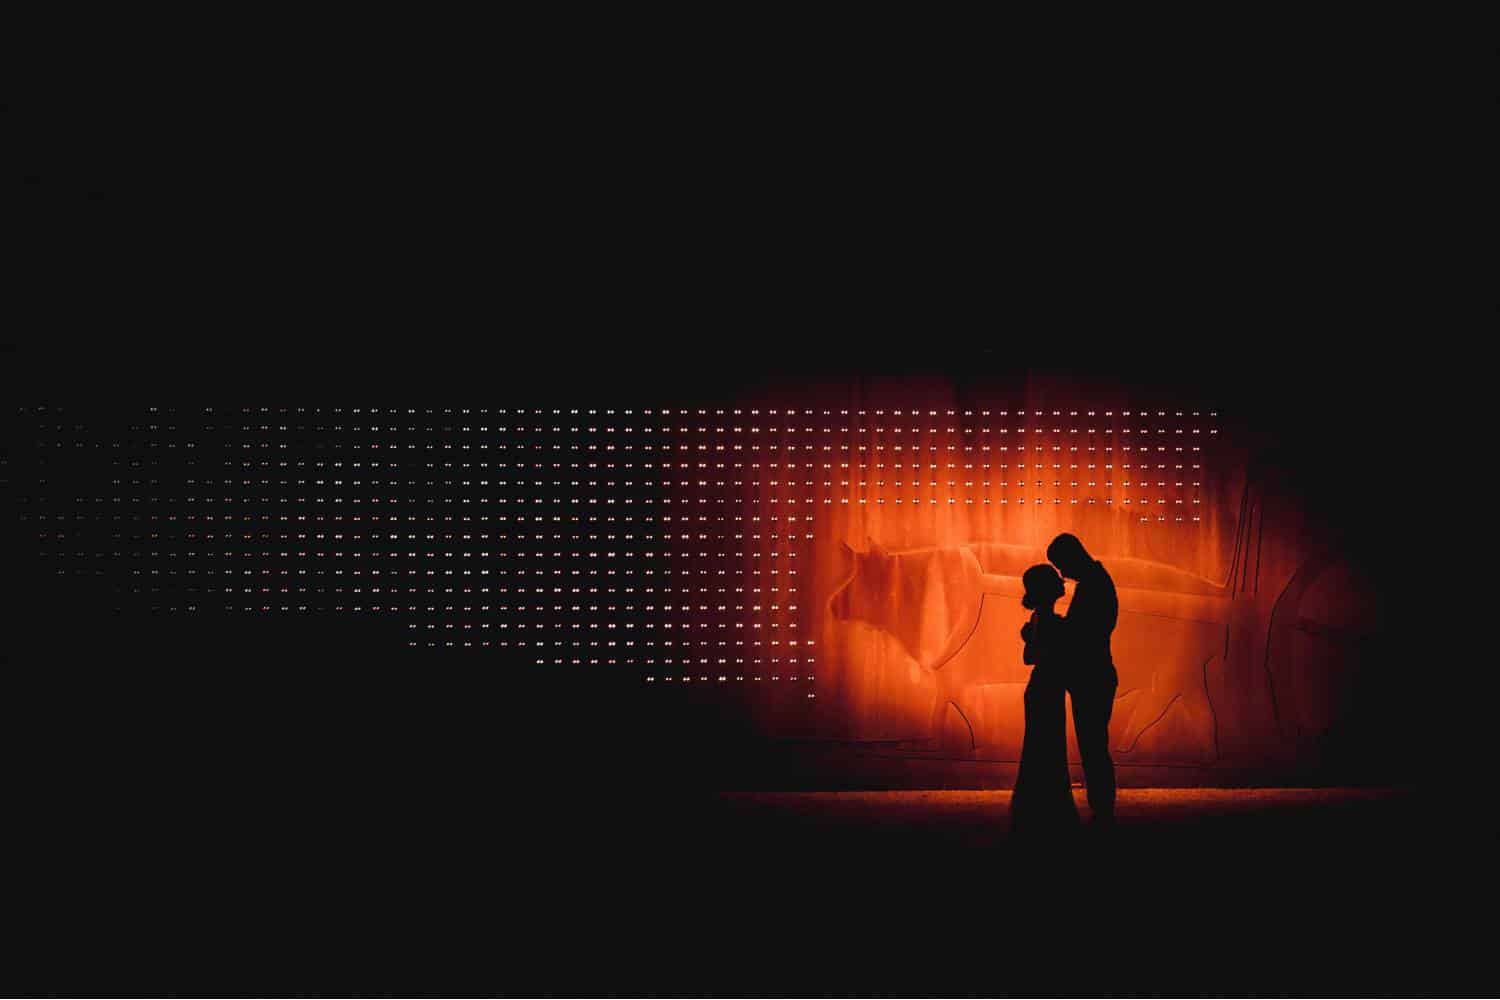
#2: Sensual silhouette overlaying a golden glow
For this nighttime photo, we placed an orange Magmod gell on a single flash which we’d set up behind the couple. We pointed the flash at the wall behind them to create the orange glow. This made their silhouette the focus of the photo.
Black & Gold Photography
Exposure Tip: Set your exposure first
Set your exposure without flash first.
- Do you want a completely dark background?
- Or do you want to see certain elements?
Before you ever introduce the flash, go ahead and expose for what you want to be visible.
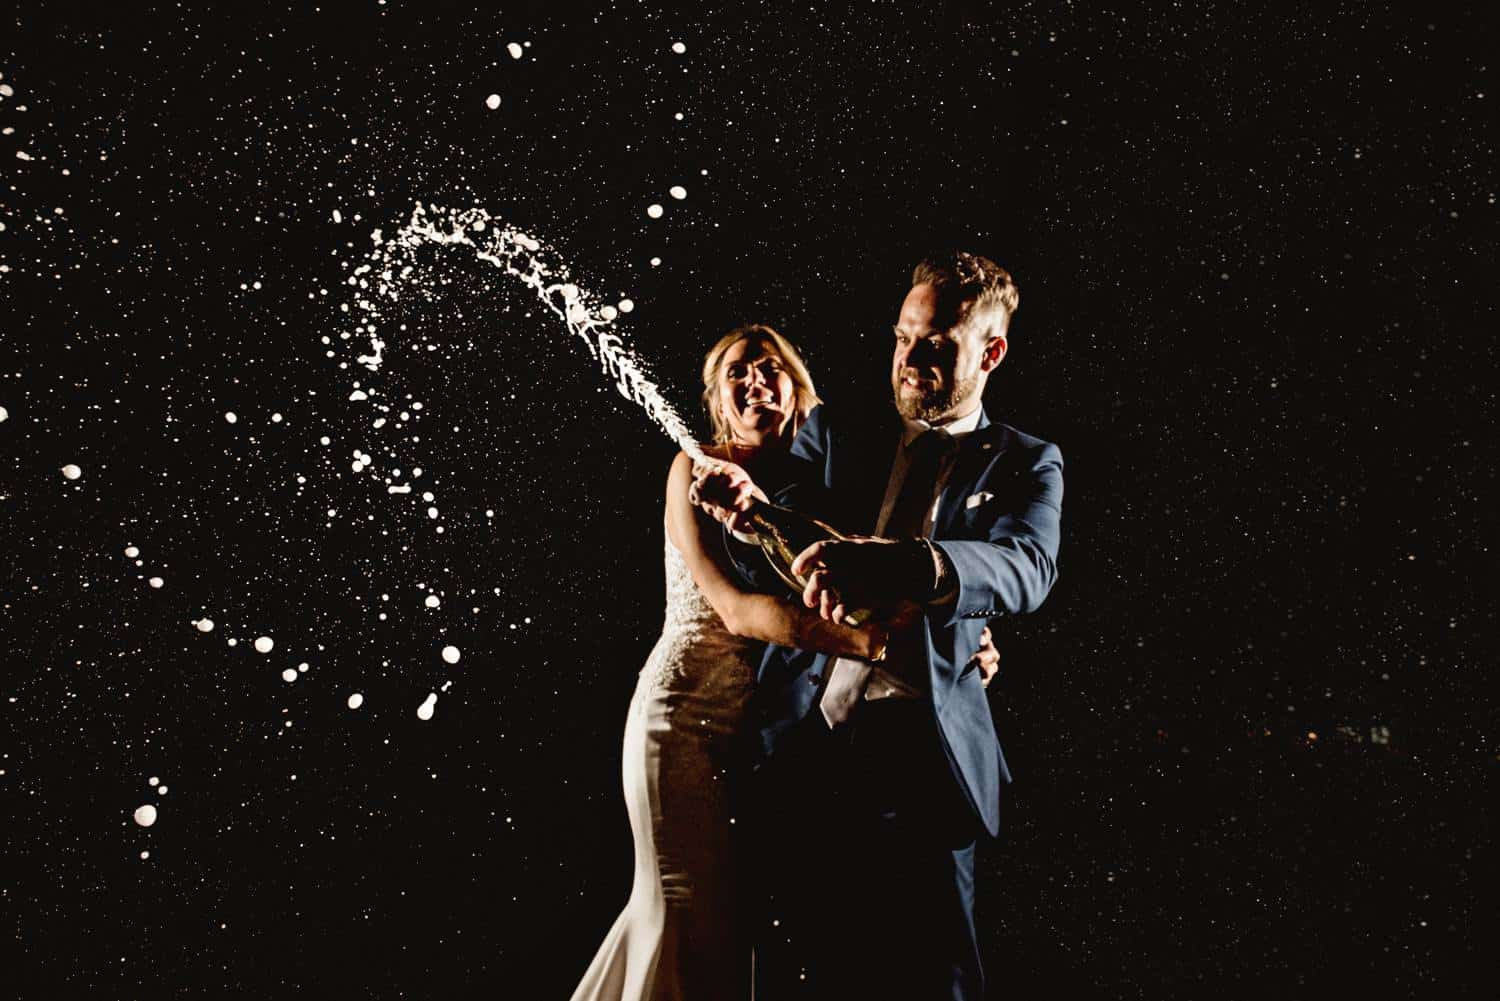
#3: Nighttime champagne pop
When this couple told us they wanted to pop a bottle of champagne for a photo, we asked them to wait until nighttime to create the image… And this is what we got!
Black & Gold Photography
Initially, we placed a single flash on a stand behind them, but this left their faces in the dark, so we added a second flash. The two flashes were located on either side and slightly behind the couple, pointing towards them.
We used Magmod grids on both flashes to concentrate the light. As the champagne was popped, the light from both flashes “froze” the spray.
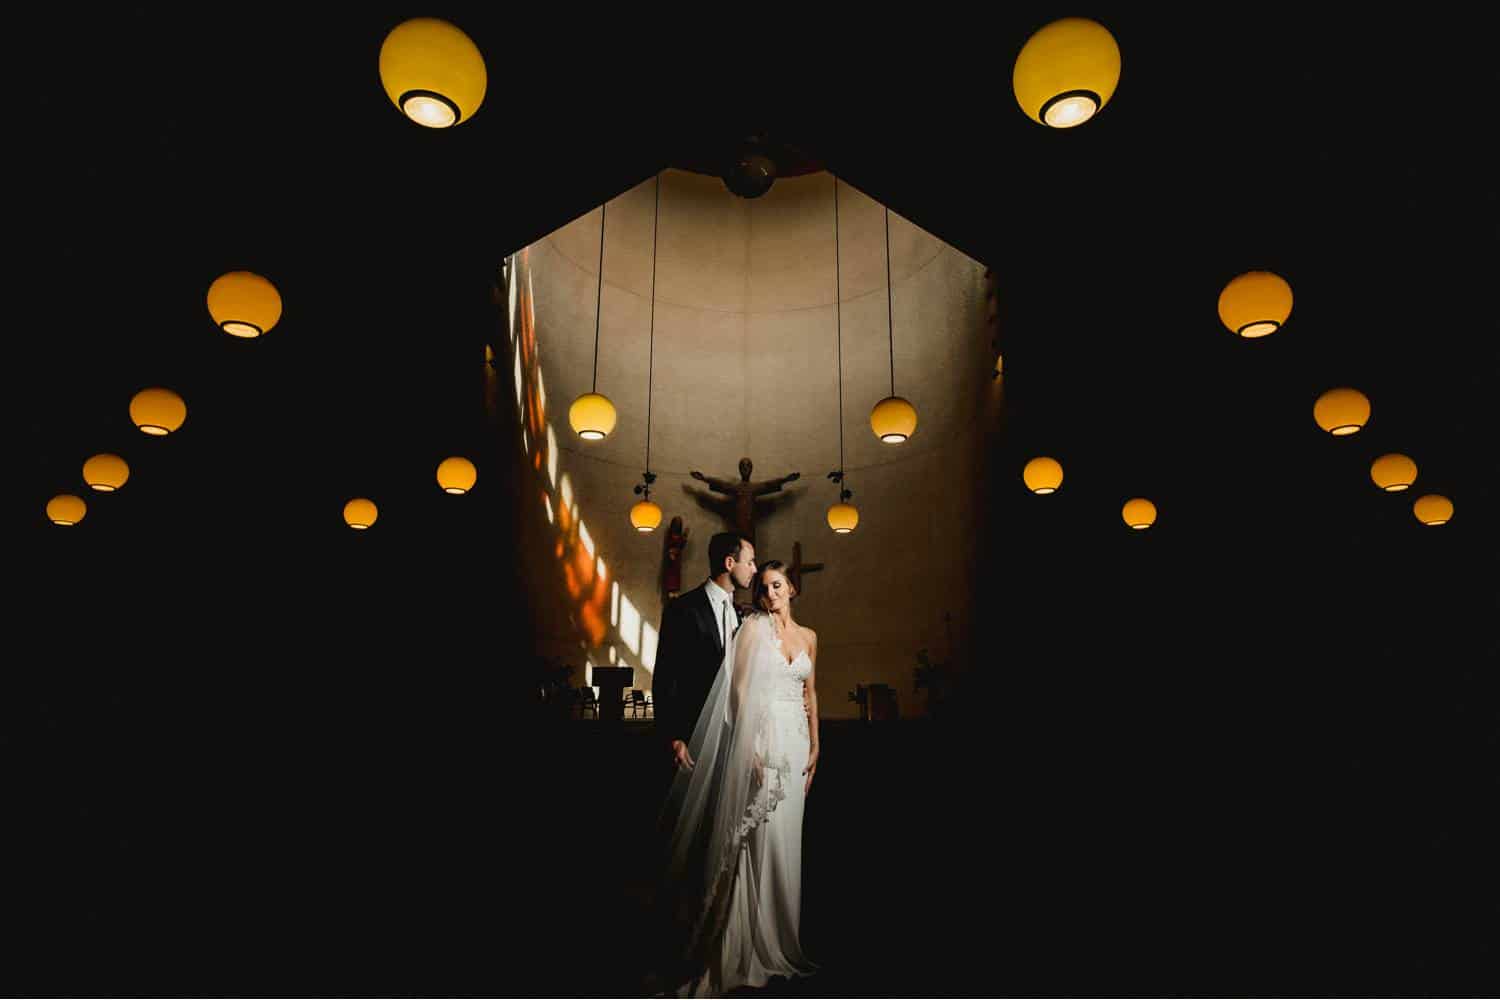
#4: Cathedral portrait made with one off-camera flash
The symmetry of the hanging lights in this church provided a great opportunity to create a moody photo for this couple.
- Joel: I had the camera front-and-centre, with the exposure set so only the church lights were visible.
- Cheryl: I held a single flash with a Magmod grid above and off to the right side of the couple. I pointed it downwards to light the couple.
Black & Gold Photography
Light Modifiers: A must-have if you want to control your light
The biggest game-changer for us was adding Magmod grids to our strobes. Grids control the spread of light coming from our flash bulbs. Light bounces and spills easily, which means you must control it—or else your entire scene will be affected.
#5: Dreamy in-camera double exposure
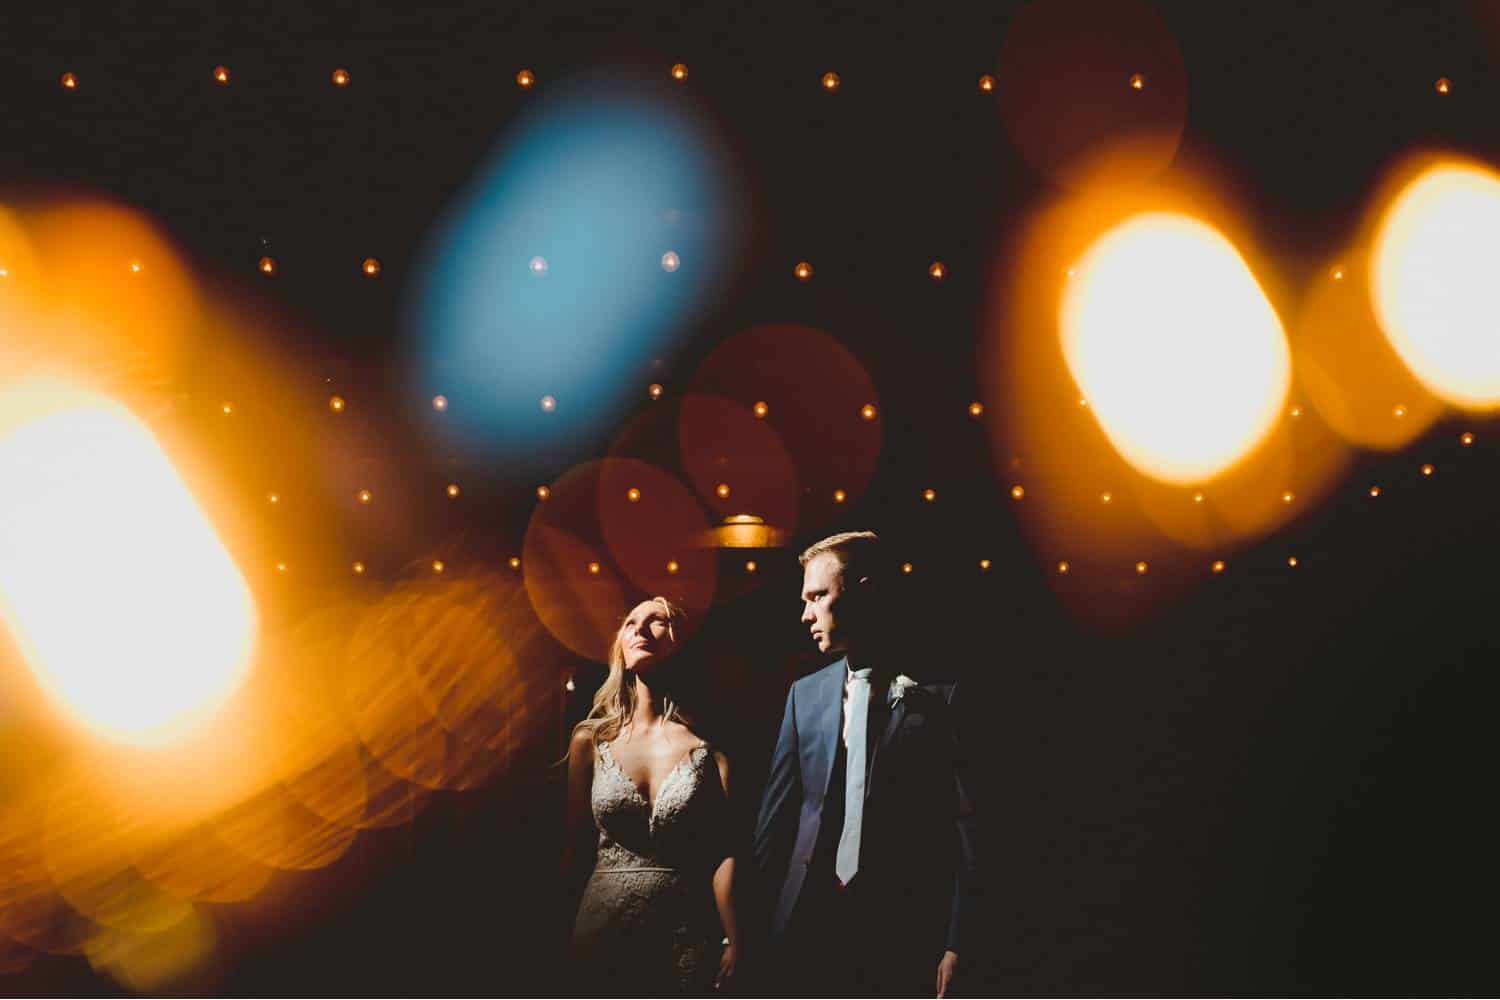
This simple, gorgeous image was created with an in-camera double exposure…
Black & Gold Photography
- For the first image, we photographed the coloured lights in the foreground. (We snapped a photo of some light bulbs located inside the venue.)
- For the second image, we took the couple outside at night and photographed them in front of the venue. (The entrance has Edison bulbs on and around the ceiling.)
We lit the couple with a single flash and used a Magmod grid to pinpoint the light directly on them. Using the camera’s double exposure setting, we then layered the two photos in-camera to create the final image.
#6: Architectural angles
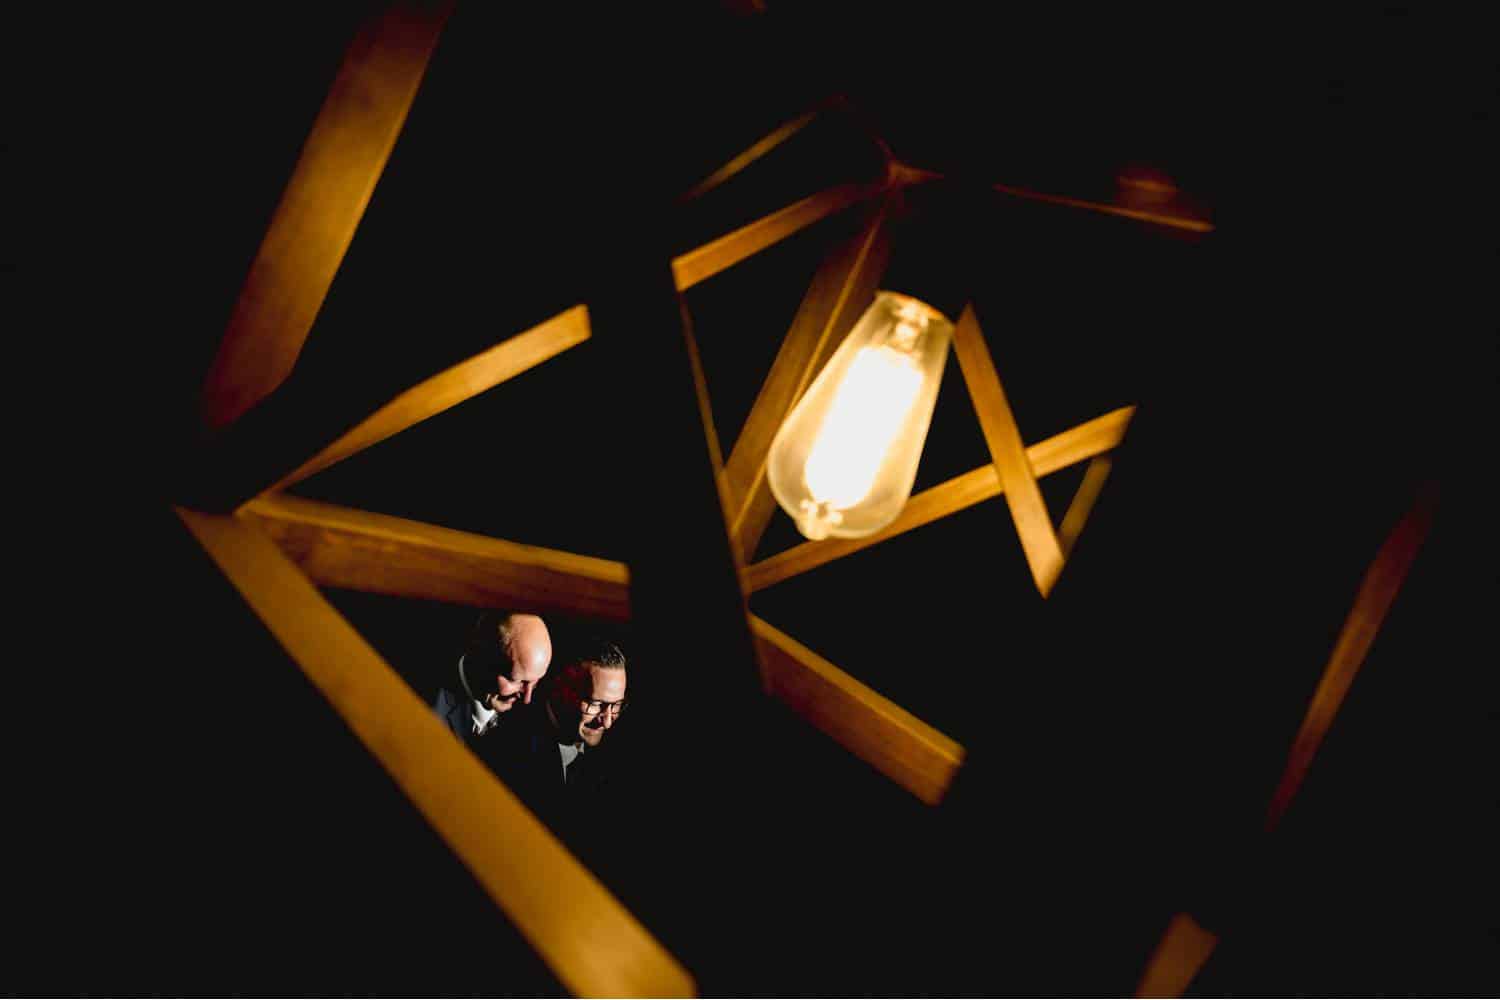
When we walked into the hotel room where our couple was getting ready, this light fixture caught our eye for a creative photo.
- One of us stood on a chair and took the photo through the frame of the light fixture.
- The other of us aimed a gridded flash at the couple’s faces.
Black & Gold Photography
This space was quite small, so we performed some dodging and burning in Lightroom during post production to further enhance the couple and light fixture.
#7: Blue sky glowing through glass
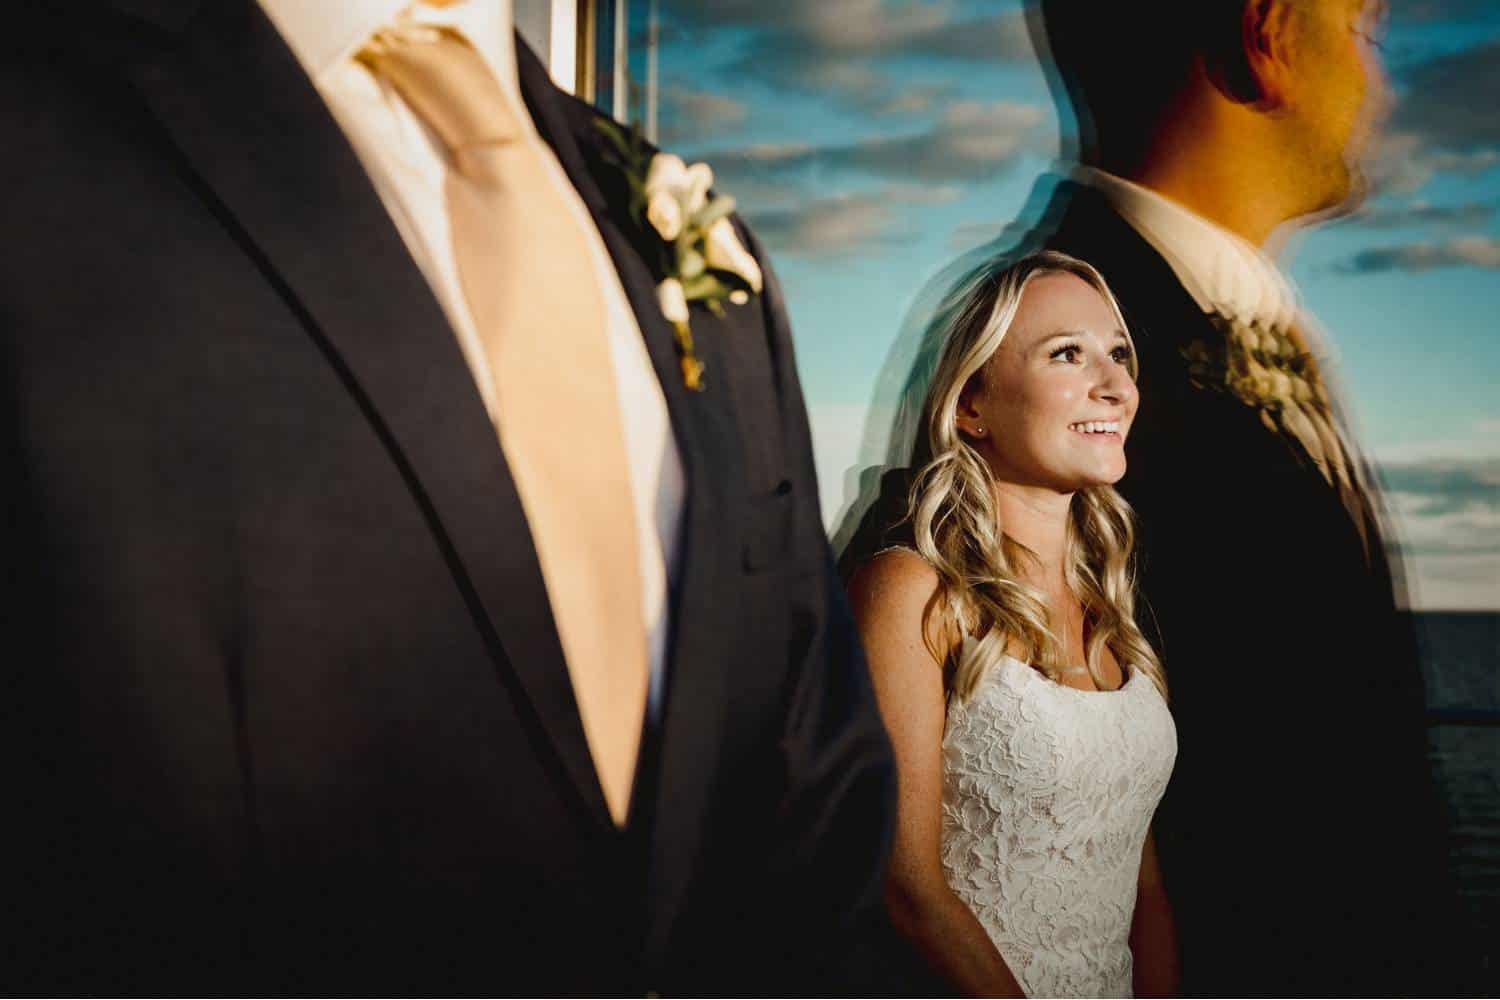
This image was created by shooting through a window. We positioned the bride inside a room with a gridded flash pointing towards her. This created enough light to see her through the window while we stood outside. It also allowed the colour of the blue sky to reflect off the glass. We then positioned the groom outside where he cast his sun-lit reflection onto the window.
Black & Gold Photography
Flash Power: Start low to incorporate more ambient light
It’s best to avoid blinding your clients while you test your flash exposures! Start at the lowest flash power (1/128th or 1/64th), and move up from there. And don’t be afraid to use those higher ISO speeds when necessary. (Remember: a higher ISO retains more of the ambient light.)
#8: Wintery, silhouetted portrait at dusk
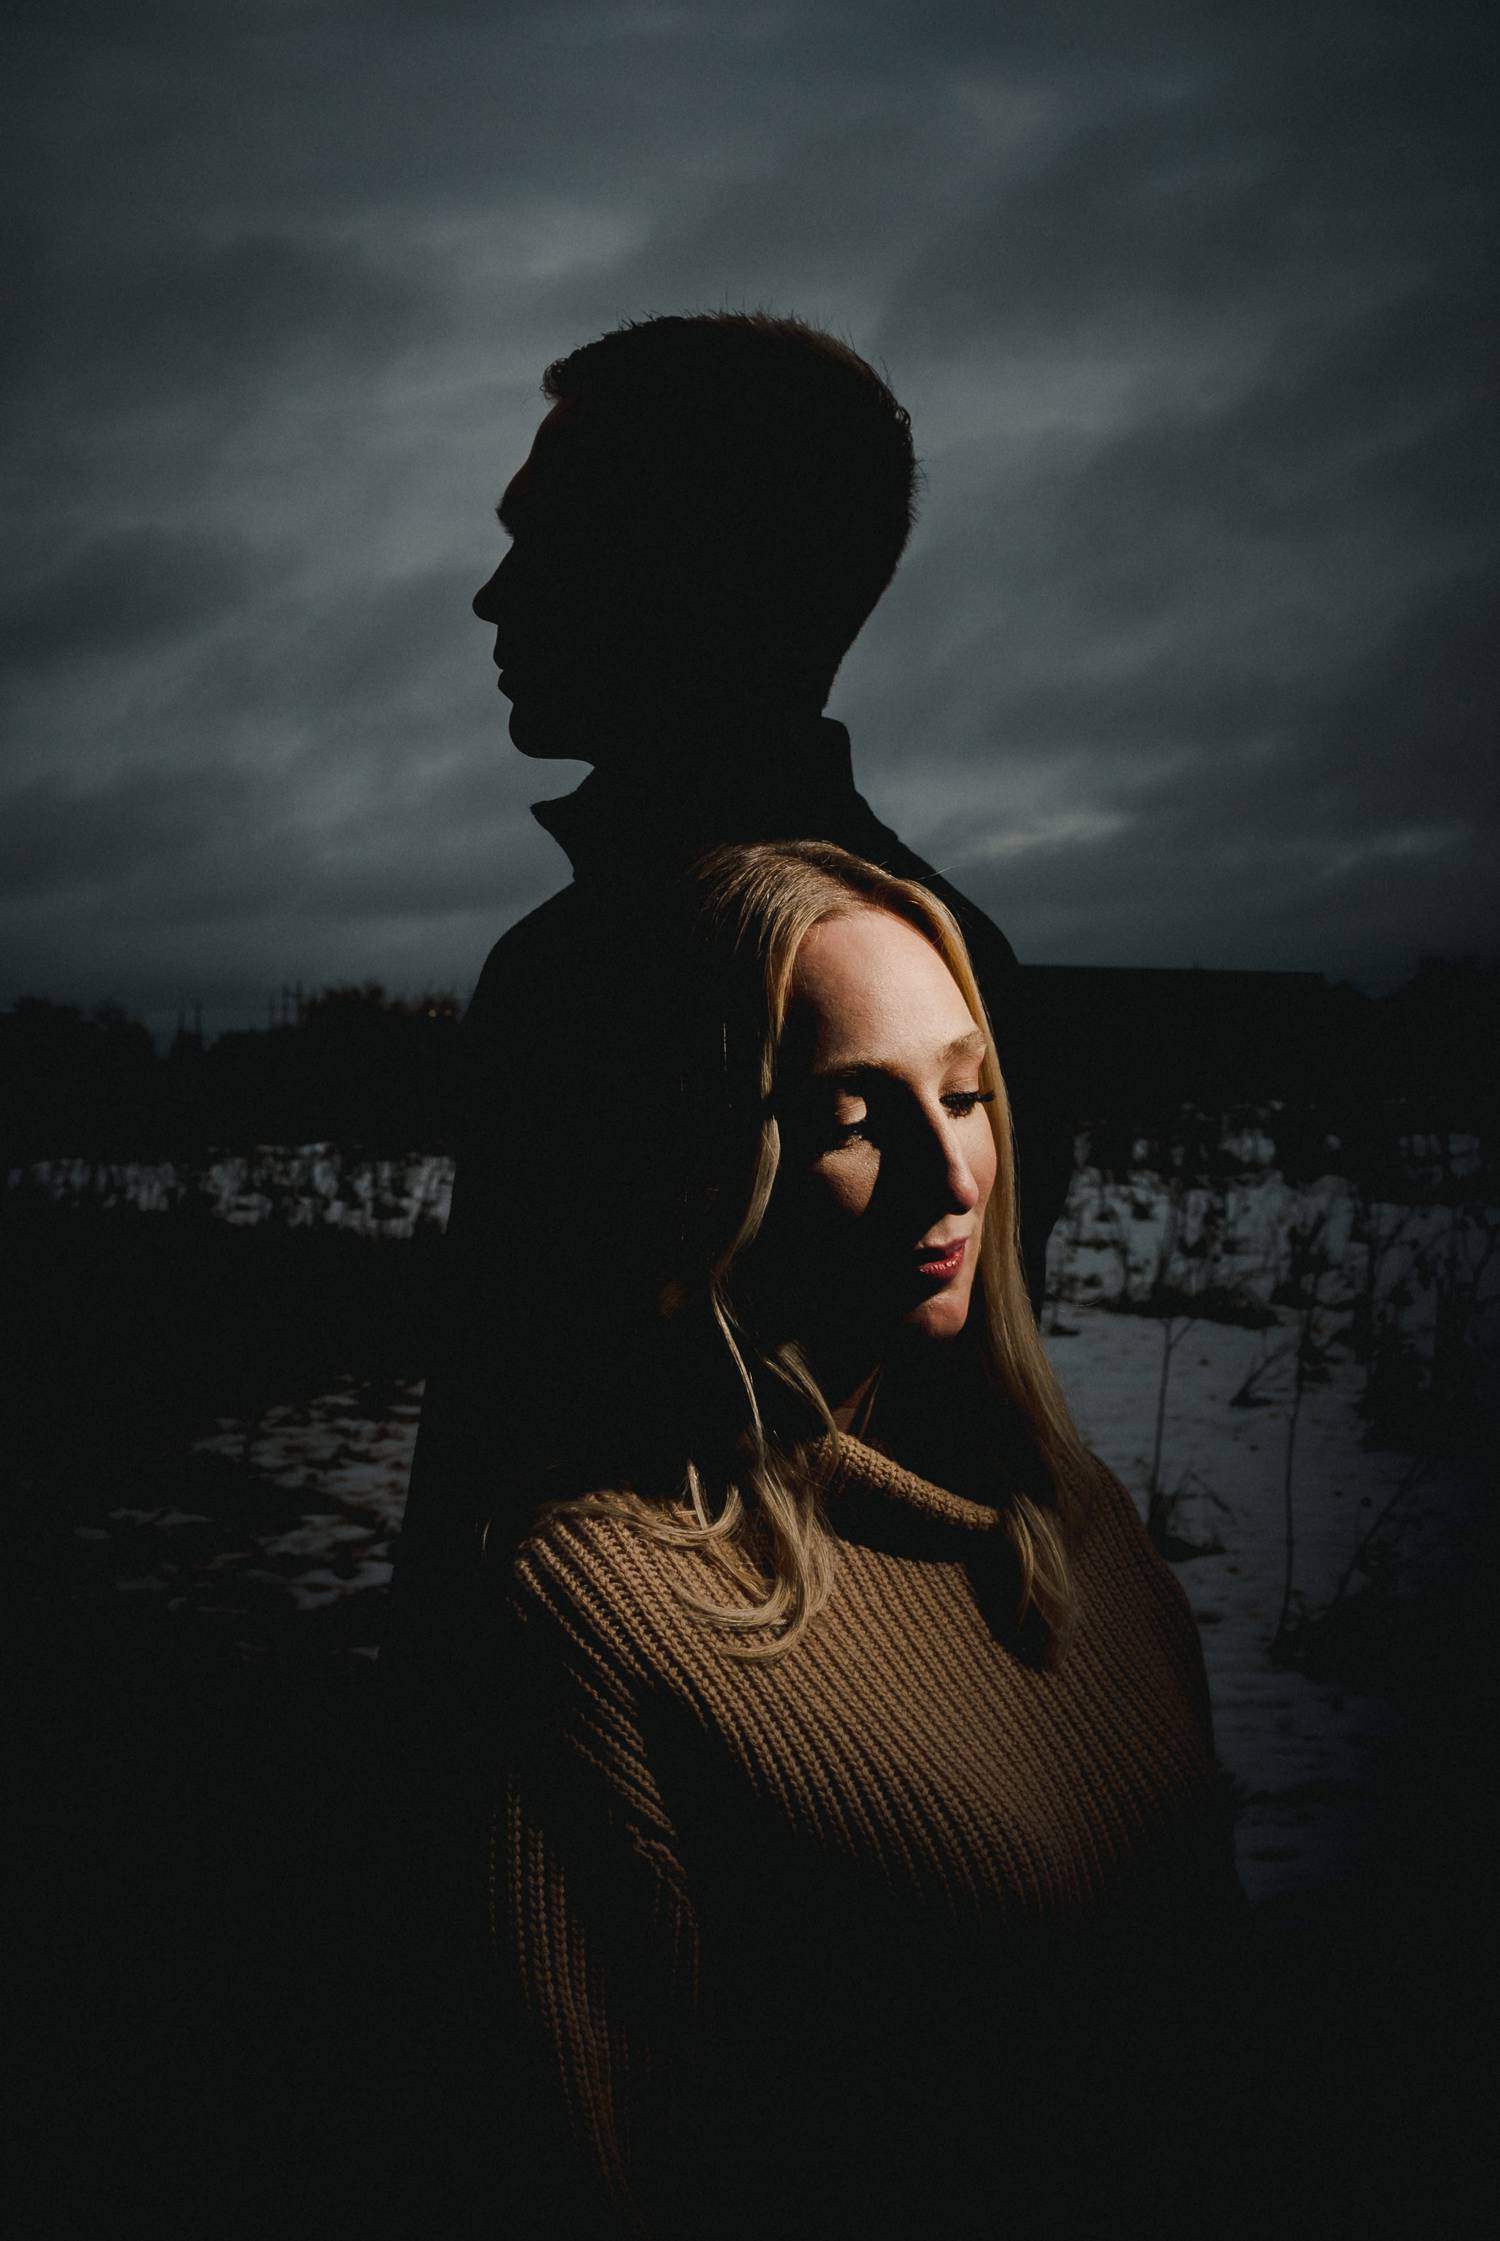
We made this photograph on a cloudy evening, which allowed us to combine the sky’s ambient light with the light from a flash…
Black & Gold Photography
We positioned our couple with one partner behind the other, then we set the camera’s exposure so we could see a silhouette of the groom. By adding a single flash with a Magmod grid pointing directly at the bride’s face, we were able to expose her back into the portrait.
#9: Moody, modern mirror reflection
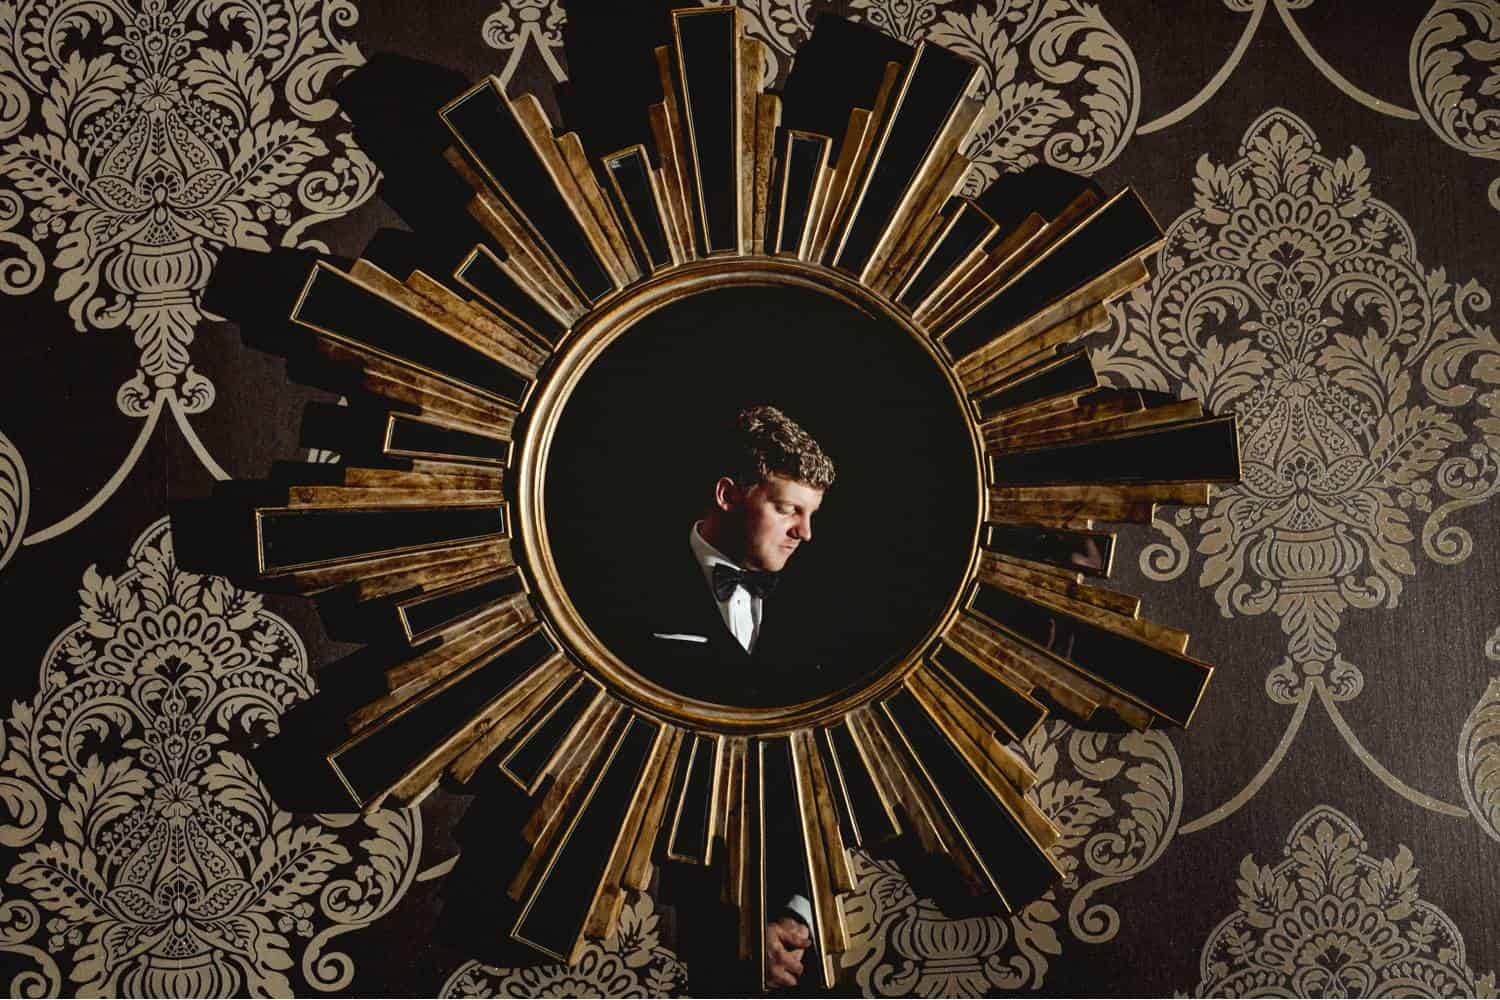
We’re always on the hunt for objects that can be used for reflections, so this mirror set against intricate wallpaper was a must-shoot!
We positioned the groom in the mirror at an angle where I wouldn’t be seen while taking the photo. Next, we pointed a single gridded flash at his face to side-light him.
There still wasn’t enough detail appearing in the mirror or wallpaper, so we bounced a second flash off the ceiling to provide a little more fill-light, which made the whole image come together.
Black & Gold Photography
Flash Settings: Manual gives you more control
Your flash’s TTL setting can be a great feature; but in the interest of consistency, we always use the manual settings on our flashes. It’s much easier to troubleshoot when you know your flash is firing at a consistent power.
#10: Smoky, sultry, full-length portrait
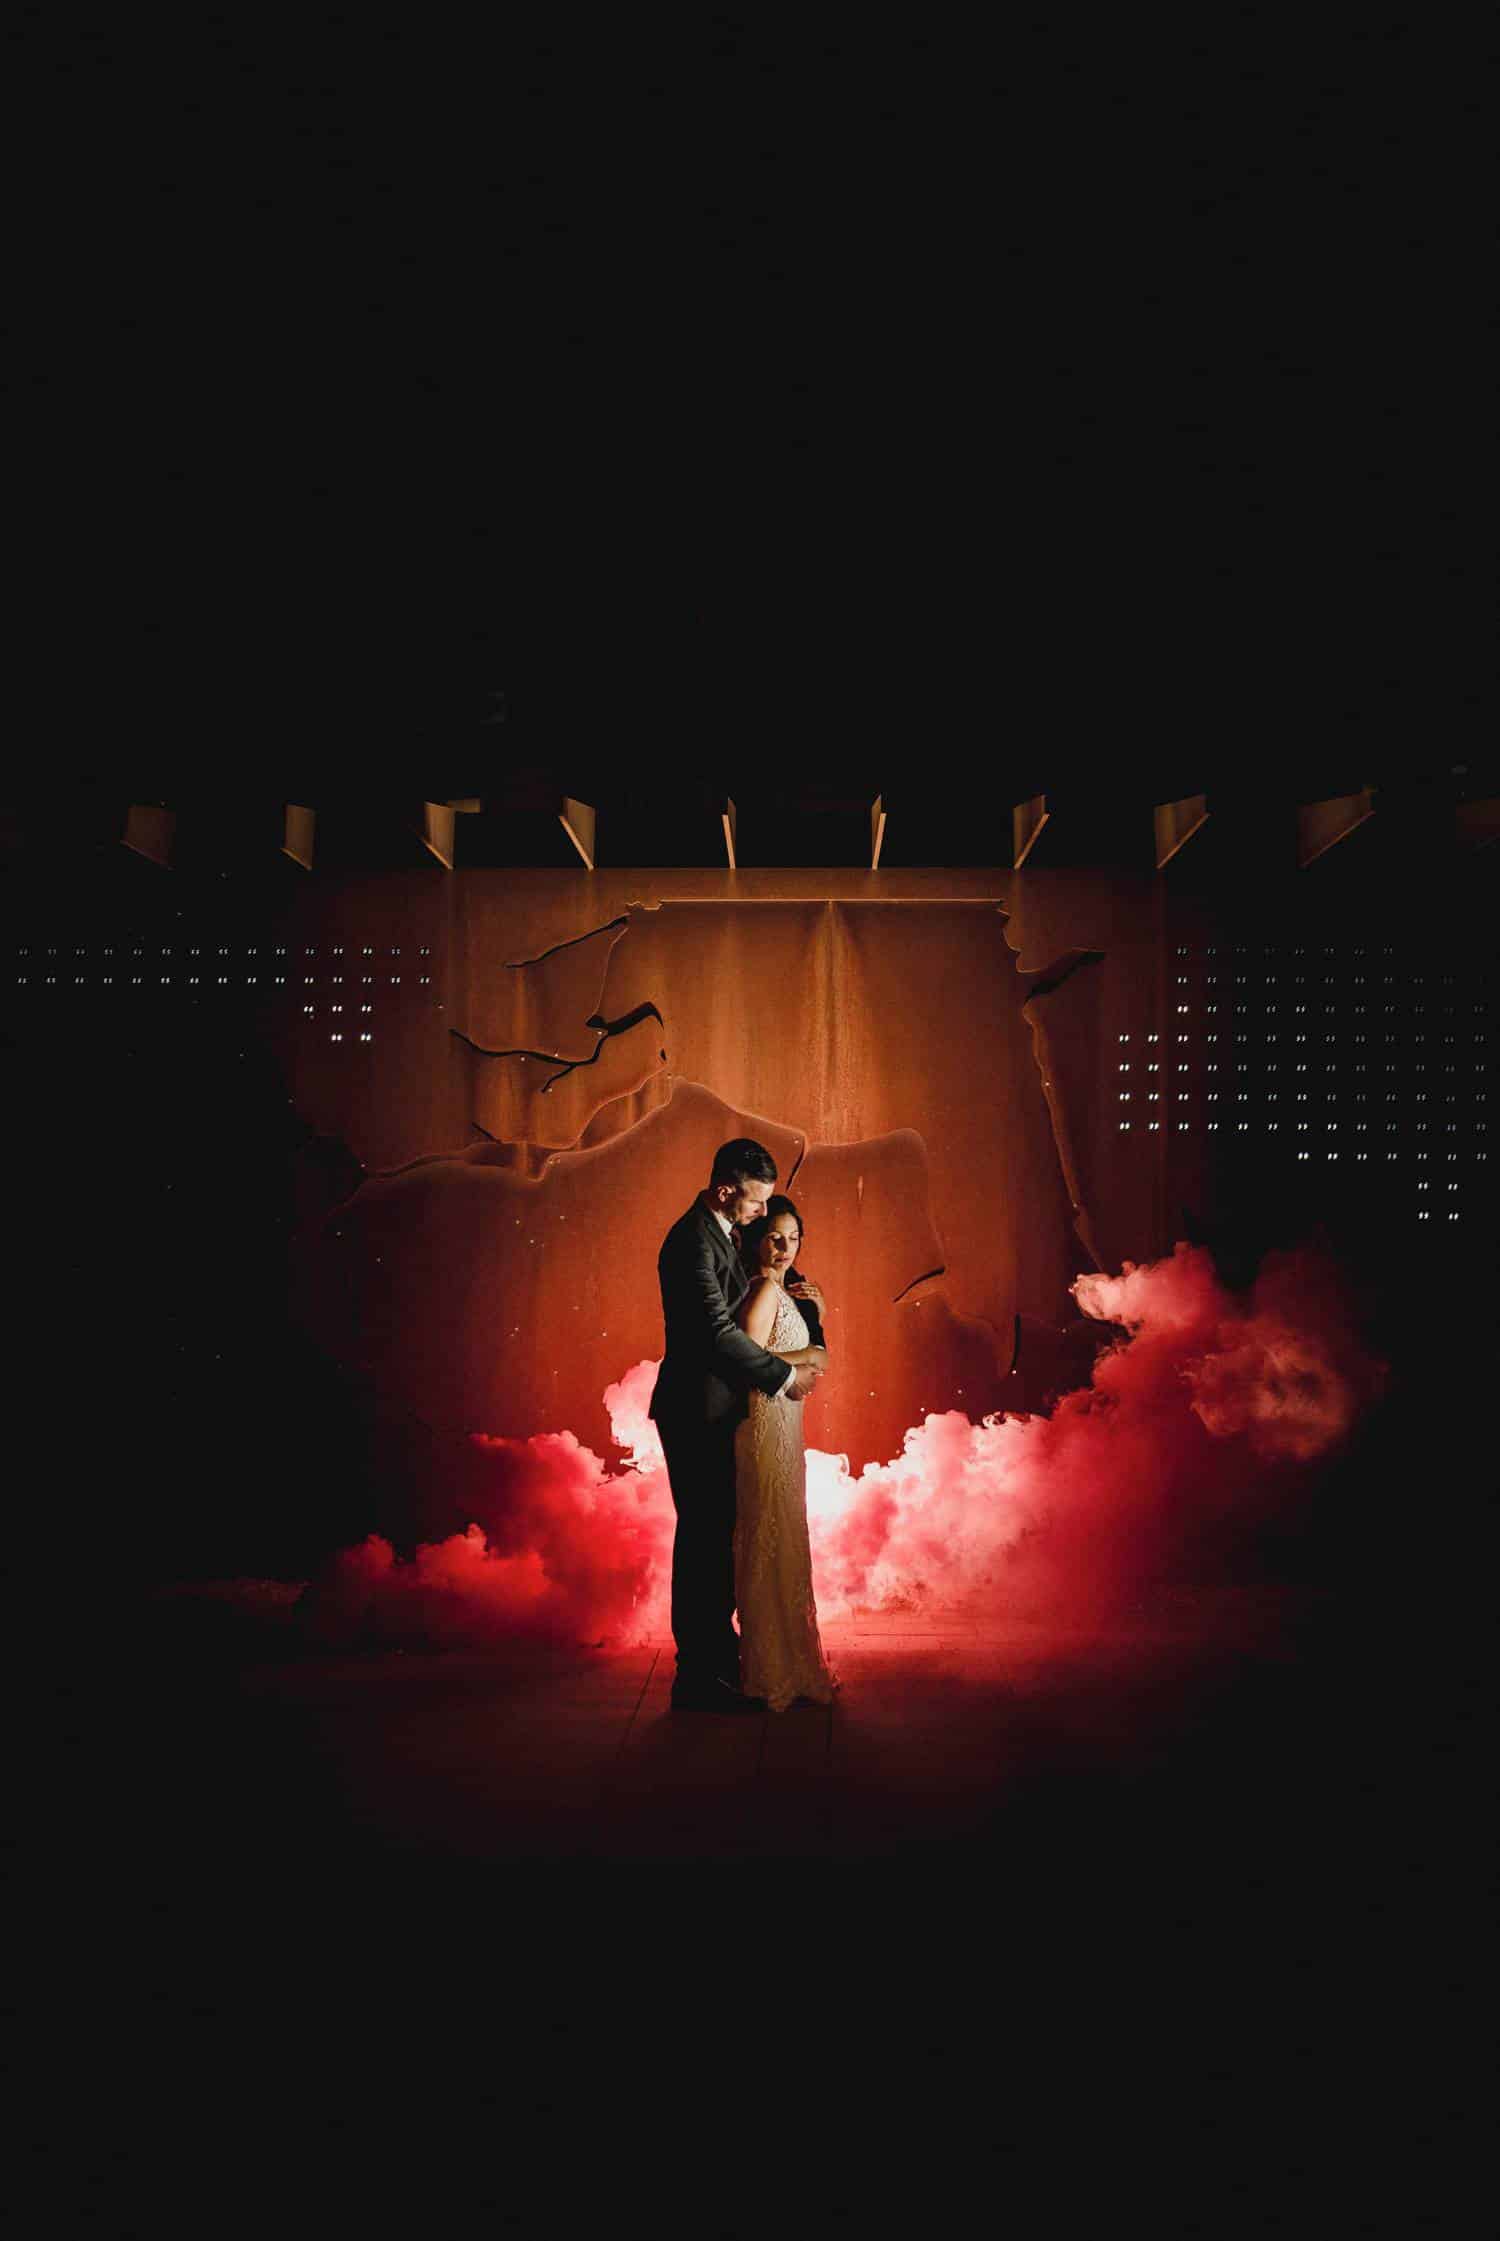
We wanted to create something epic with this couple at night! A single flash with a Magmod grid was placed on a stand off to the side. We placed another flash directly behind them where we intended to fire off a red smoke bomb. After a test shot or two, we let the smoke fly! The flash next to the smoke bomb made the red smoke pop in the dark night.
Black & Gold Photography
Focus: How to master low (and no) light scenarios
Every year, cameras get better at autofocusing in low light. But it can still be very difficult to autofocus on a subject in complete darkness. We have the luxury of working as a duo, so before we bring our couples in for their flash-lit nighttime photos, we use each other as test subjects and ensure that our focus is spot-on.
We set our camera to manual focus and use the Live Mode setting to zoom in as close as we can to our subject. Sometimes we use the flashlight on our phones to illuminate the subject; this makes it easier for our camera to focus on the subjects. (Tripods can also be helpful, but in the interest of working quickly we almost never use one.)
Give off-camera flash a try!
How will YOU use these tips and techniques at your next wedding or portrait session? Try unusual angles, unexpected perspectives, and one-of-a-kind off-camera lighting methods to create portraits that will truly set you apart!
