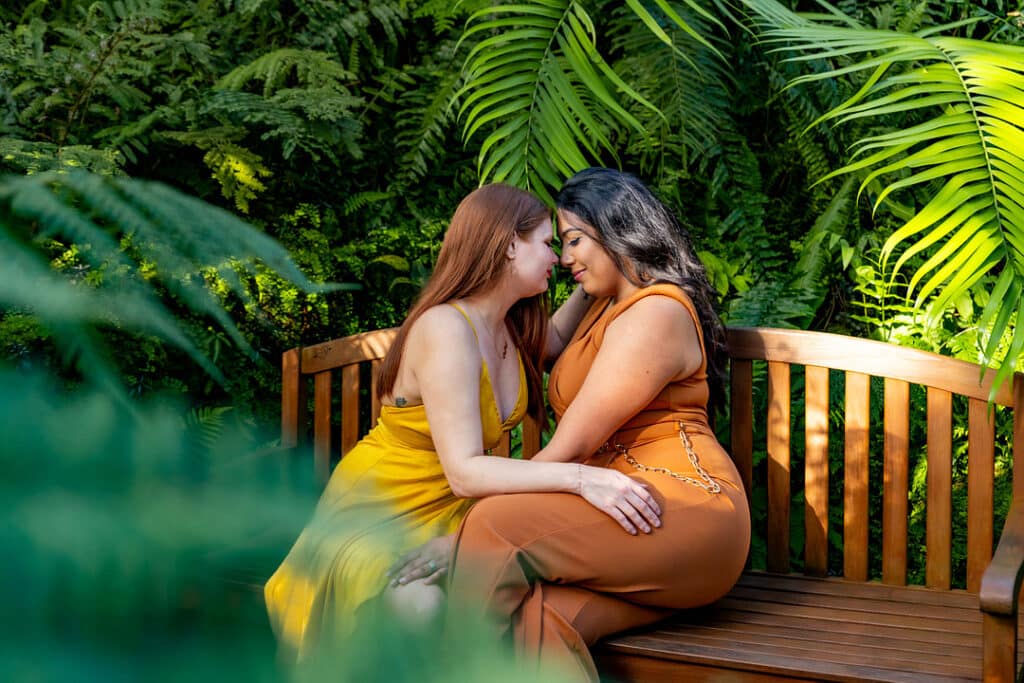
Get inspired by these 35 stunning wedding ring photos, then learn the ins and outs of making them yourself with our how-to tips! (Photographs by KELLI WILKE PHOTOGRAPHY and WATER BEAR PHOTOGRAPHY)
35 Stunning Wedding Ring Photos & How to Make Them
You’re a portrait master, a storyteller, a memory maker, a documentarian of history: in short, you’re a wedding photographer. And, as if that weren’t enough, you also need to know how to make a magazine-worthy wedding ring photo. We’re talking crisp, clean, creative masterpieces – oh, and you only have five minutes to take the ring photo because Stephanie wants that diamond back on her finger stat.
Don’t feel bad if wedding ring photography isn’t your forte. We’re here with how-to’s, wedding ring photo tips, and inspiration so you’ll be ready to rock the next time a client drops their rings in your palm.

Kelli Wilke Photography
Use the Right Gear
We love the adage, “The best camera is the one you have with you,” meaning (in the words of the great Tim Gunn) “Make it work!” But when it comes to wedding ring photos, a photographer really needs a macro lens – or at least a reversing ring.
Macro lenses are designed specifically for making photographs at very close distances. But that’s not all they do! With a macro lens, a photographer can go from taking a wedding photo a few feet away to taking a shot of a tiny diamond at less than an inch away, and both photographs will be crisp and in-focus.

Kelli Wike Photography
Reversing rings are adaptors that attach to a regular lens, effectively converting that lens into a macro lens. Reversing rings are a cheap alternative to buying a macro lens, but they do have their limitations.
- You’ll have to manually focus your lens, as automatic functions will no longer operate.
- You can only create macro images once the reversing ring is in place – no normal portraits.
Consider your shooting style, and choose the macro solution that suits you best for your ring photo.

Water Bear Photography
Take a Ton of Photos
Photographer Kelli Wilke adores photographing details, and she has tons of experience making wedding ring pictures. “Shoot a LOT,” Kelli advises photographers. “If you are hand-holding your camera, you will need to take a deep breath, steady yourself, and shoot a ton of frames. A few will be sharp!”
You’ll increase your odds of getting a crisp ring photo by using a tripod or a monopod, though those tools can be cumbersome for a photographer to carry around when they’re rushing to-and-fro on the wedding day. As a photographer, you can also experiment on the wedding day with auto-focus versus manual focus to see which works best for your ring shot.

Water Bear Photography
Tiny Details are Part of a Bigger Picture
Up-close rings images are the gold standard for any photographer, but it’s important to remember that the rings are also part of a larger story. Rings don’t exist in a vacuum; they’re part of the couple’s love story, wedding day, and future together. Incorporate other meaningful items into your wedding ring photos, such as:
- invitations, wedding day programs, and other paper items
- other jewelry (earrings, cufflinks, etc.)
- textiles and floral arrangements that are part of the wedding day
- elements whose colors complement the wedding day’s palette
- architectural details indicative of the venue

Kelli Wilke Photography
Get Award-Winning Inspiration
We all experience “photographer’s block” from time to time – that feeling of stagnation that holds any photographer back from thinking creatively. When you’re out of ideas, look at ring shot examples by other photographers, such as the award-winning pictures made by artists such as:
- French photographerJulien Pontarolo
- Malaysian photographer Edwin Tan
- Italian photographer Francesca Survara
- German photographerJudith Thomandl
- French photographer David Bacher

Water Bear Photography
“How do you make the rings stay in place?”
We hate to disappoint you, but… it’s not magic. It’s putty!
Sure, a photographer can spend 20 minutes delicately balancing rings on precarious surfaces for the photo and praying they don’t fall into the floor vent; but a clever photographer has long been using inexpensive adhesive putty to hold wedding ring in place. Use a small enough piece of putty on the rings, and it won’t show in the photo. Clear dental wax is a terrific alternative; and if you have kids in braces, some of that wax may already be in your home bathroom!
In a pinch, a photographer can also use a small piece of rolled tape in the shot, sticky side out, to help support the wedding rings for the photo. (Word on the street is that gum works, too, but we don’t recommend it because EW!)

Kelli Wilke Photography
Reflections: the Good Kind and the Bad Kind
Mirrors and other reflective surfaces can make beautiful backdrops for bling. Just watch out for your own reflection on the glossy surfaces! That goes for the wedding rings themselves, too. At the wrong angle, a ring’s band (or even the stone) can reflect a clear image of your very own photographer-self, camera in-hand.
To avoid seeing yourself in someone else’s ring, experiment with taking the shot with varying angles. Make wedding ring photographs using a slight downward or upward angle that also showcases the band details.

Kelli Wilke Photography
Keep it Crisp
No one wants a fuzzy ring photo of the engagement ring they traded two months’ income to obtain. “Shoot at a high f-stop,” recommends Kelli Wilke, referencing apertures of f/5.6, f/8, and above. “This is not the time to shoot wide-open. The compression of a macro lens already gives you a very narrow depth-of-field, so you HAVE to shoot at a high f-stop to get some depth-of-focus in the ring.”
Since higher f-numbers reduce the light that reaches your sensor or film, you may need to increase your ISO for the shot if you’re hand-holding your camera. Or, if you’re using a tripod, you can simply slow your shutter speed until you achieve the correct exposure for the photo.

Kelli Wilke Photography

Water Bear Photography
PRO TIP: Manual Camera Settings to Remember
- small aperture = high f-stop = less light = more depth of field
- large aperture = small f-stop = more light = less depth of field
- high ISO = more light = more grain/noise
- slow shutter speed = more natural light = more movement/motion
- high shutter speed = less natural light = frozen movement/motion

Kelly Wilke Photography
Tiny Rings + Tiny Things
In the months leading up to the wedding, if you’re like most photographers, you’ll get to know your clients: their likes and dislikes, their hobbies and passions, their quirks and personalities. Use this insight to prepare yourself to make their engagement ring pictures.
Miniature toys and tiny household items make unexpected props that can help tell your clients’ story. Consider:
- thimbles and spools of thread
- toy cars or tiny model airplanes
- glass figurines of animals
- a patch of clover or a small succulent garden
- antique accessories, such as a looking glass or hourglass
- LEGO bricks or puzzle pieces

Water Bear Photography
Limit Your Liability
When a client plops a stack of wedding ring boxes in your hand, you’ve just taken responsibility for some of their most precious possessions. Protect these heirlooms – and yourself – with a few simple steps.
- Before walking away, open the engagement ring boxes in front of your client to verify that the rings are, in fact, enclosed.
- Know in advance how you plan to photograph the rings. The longer you’re gone, the more likely a client is to worry.
- When you return the rings to your client, open the boxes again to reveal that the rings are safely inside.
In the chaos of a wedding day, it’s always best to over-communicate, especially when the treasured wedding rings are involved!

Kelli Wilke Photography
Get Perfect Shots with Great Props
A wedding is the perfect place to find fun, unusual props to enhance your ring shots. If you’re shooting in a messy space or feeling a bit uninspired by the environment, get your client’s permission to borrow a few of their accessories or decorations to create a small “set” for your ring shot. Here are some of the most popular ring shot props to look for:
- the wedding cake
- fancy shoes
- bouquets and boutonnières
- the wedding dress
- programs or signs that display the wedding date
- champagne flutes

Water Bear Photography
Color, Contrast, Texture, and Layers
Make your wedding ring shots interesting with intentional background and foreground choices. Textures and patterns work beautifully behind a ring, particularly when softened by a bit of bokeh. And shooting through foliage or fabrics can deliver a stunning sense of depth in your wedding photography.
If you’re photographing a colorful stone, look for contrasting background colors. Whatever is opposite on the color wheel will help your client’s wedding rings stand out even more vibrantly! Think a blue stone on a yellow background, or a green stone against a red background.

Kelli Wilke Photography
Let the Light Lead You
“Shoot a variety of locations with the wedding rings – and from different angles,” Kelli Wilke encourages. “I often move around to look at the light and see what looks best.”
You want your wedding ring pictures to enhance the stone’s sparkle and shine, not dampen it. Position the engagement rings so the light emphasizes each tiny facet in the rings for the photo. If the rings have texture, ensure that they are similarly highlighted in the photo so those features are crisp.

Water Bear Photography
Get Creative – Not Crazy
Wedding rings can be recovered from just about anywhere, from drainpipes to silty lake floors (trust us, we’ve heard it all). But there’s no reason to take unnecessary risks when making wedding photos! Keep calm, stay focused, and make smart choices about where you place the rings.
Your clients will be just as happy with a “safe” ring photo as they would be with a ring photo that risked the well-being of their precious bands.
And since even the most careful photographer can encounter an unfortunate mishap, make sure you have business liability insurance before you handle those wedding rings! PPA’s excellent photographer-specific coverage is a great place to begin your photographer insurance research!

Kelli Wilke Photography
Create Your Own Light
If you’re taking a photo of the wedding rings at night or in a dim room, or if you simply want to play around with unique lighting for a shot during the wedding, you’ll want to invest in a couple of small LED lights, like these that photographer Erica Kay recommends. Unlike large flashes that can overwhelm tiny wedding rings, these continuous lights allow the photographer to see exactly how the rings will be highlighted in the photo, giving you total control over the end product.

Kelli Wilke Photography
What are your top tips for wedding ring photography?
Share in the comments below!
Written by ANNE SIMONE | Photographs by KELLI WILKE PHOTOGRAPHY and WATER BEAR PHOTOGRAPHY


